
Animated banners
Eagle-eyed readers might have noticed that my footer now features a banner-exchange scheme1 You might even spot one of my banners in circulation:



I made those animated GIFs... but I didn't open a single piece of graphics software!
Instead, I used HTML and CSS code (plus SVG assets I already had) to design them right in my browser. Then I wrote some code to capture stills and combine them into GIF files. It's a simple and effective way to use Web coding skills I to make Web graphics.
Making a banner
Here's how it's done:
First, I created a HTML element of the correct width and height, position: relative; (to make it easy to position things "within" it) and overflow: hidden; (so
that anything "too large" gets clipped-off) rather than trying to make the banner larger:
<div id="sample-banner"
  style="position: relative;
         overflow: hidden;
         width: 400px;
         height: 40px;
         background-color: var(--alt2-bg);
         background-image: url('green-dust-and-scratches.png'),
                           linear-gradient(-80deg, #fffb 0%, #fffb 51%, transparent 54%, transparent 100%);"
>
  <!-- later, banner content will go here! -->
</div>
That's a basic mostly-empty banner:
Then I started adding content: a couple of SVGs2
and a "paragraph" of text, supported by some CSS. Each uses position: absolute; to set its top, left, width and height exactly how I want, resulting in a sharp, clean
banner.
Remember, this is HTML: try selecting the text or using Inspect Element on it!3
Generating the GIF
To convert that to a GIF, I implemented this script. It runs via Node and uses Puppeteer to launch a headless browser. This then pauses the animation and then iterates through it the requisite number/duration of steps, capturing the images of each.

4.5) to watch it for and the number of frames
(100) to save over that period.
Alt
Running 'node generate.js "/2026/11/16/html-to-animgif/#sample-banner" 4.5 100 sample-banner.gif'. A 100-frame 4.50-second GIF is produced.
The resulting GIF is pretty inefficient so I used LossyGIF/gifsicle to shrink it4. That's all there is to it, and it's scriptable and automatable to boot.
It works for other things too...
It doesn't need to stop there, though. I also needed to update some of my "fallback" Open Graph images, which were still using photos of me from 10+ years ago5. First, let's make a HTML+CSS+SVG Open Graph "image" for my pointless podcast:
the podcast
A pointless podcast that nobody asked for, exclusively about things that only Dan finds interesting.
Again, that's all HTML code6:
inspect it to your heart's content. To convert that to a JPEG, I run my utility with 1 frame (i.e. not animated); the "duration" becomes the time-after-page-load to take
the screenshot (0 seconds):

Alt
Running 'node generate.js "/2026/11/16/html-to-animgif/#dancast-og-sample" 0 1 og-image.jpg' produces a JPEG file.
A second or so is all it takes and I have an image version: simple!
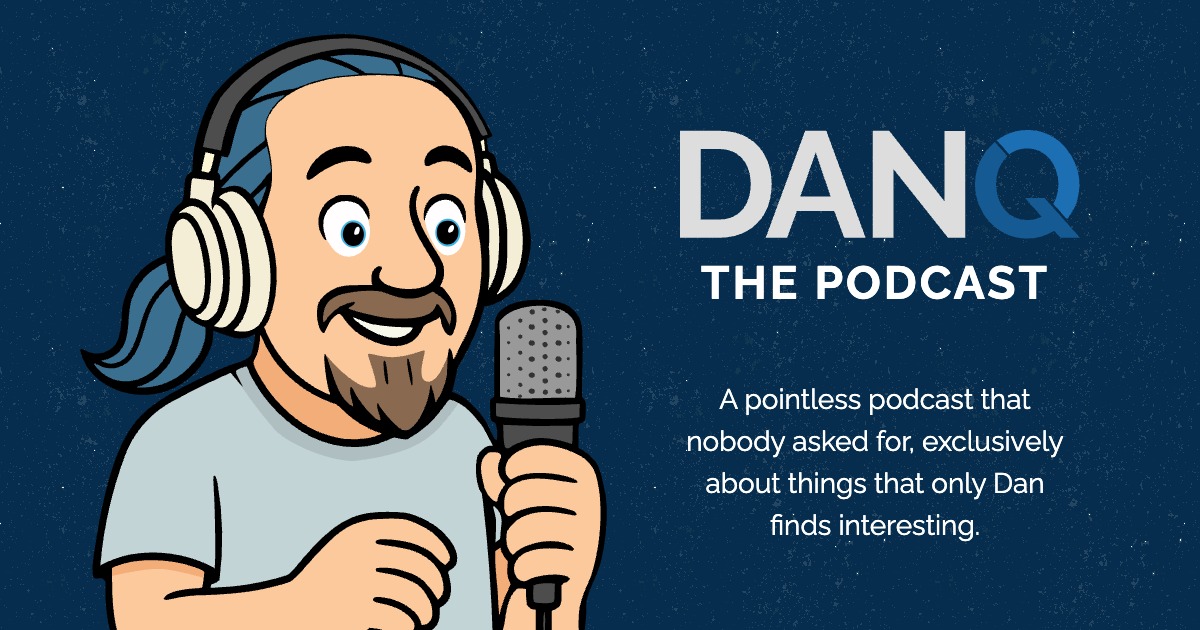
Alt
Dan Q: The Podcast.
Puppeteer is most-often used for automated testing, but I've long been a big fan of using it for all kinds of other scripted tasks like screen-scraping webcomics without feeds and extracting data from companies who won't let me use their APIs (max props to "stealth mode" 😁), among other things. And now I've got another use for it: creating images and animations from HTML and CSS (and potentially JavaScript).
Maybe I'll keep leaning into the 90s Web... and use the same approach to make some 88 × 31s!
Footnotes
1 Hey Dan! 1999 called. It wants its Web design clichés back. Anyway; more about these banners another time...
2 You might notice that in the HTML version of the "wavey Dan" banner my hair or t-shirt is a different colour than in the resulting GIF. That's because these are set using CSS variables in your browser, and you've probably overridden them using the "Dress-up" menu at the top of the page: did you know that was a thing, yet? Anyway: when my image capturing script runs, later, it doesn't have those CSS variables set and so the t-shirt reverts to white, my hair to blue, and my beard to its natural colour. Or, at least, my comic-illustration approximation of it.
3 On desktop? Hold your mouse cursor over it to zoom in!
4 You could use EZGif Optimizer if you prefer a web-based solution
5 These old photos don't represent me very well. By which I mean: I'm older and wrinklier and using decade-old headshots on my personal website felt like lying on a dating profile. Swapping myself out for a cartoon "danaboo" version of myself somehow feels more-honest because at least it's obvious that that's not exactly what I look like! But is still less old-and-tired-looking than reality. 😂
6 There's a little bit of a white lie in my open graph
sample: my actual OG images are the recommended size of 1200 × 630 pixels, but my sample above halves each of those dimensions so it tidily fits into the width of this blog
post! Unless you're on mobile... in which case it might look screwy; sorry. Anyway: if you're inspecting/copying my code to use for yourself, be sure to double all of the
px values!
0 comments