This week I’m at Three Rings‘ annual “3Camp” event. Owing to Some Plot, we had a gap in the cooking rota, and, seeing that there was a pizza oven in the back garden, I figured… I can make a couple of dozen pizzas to feed everyone, right?
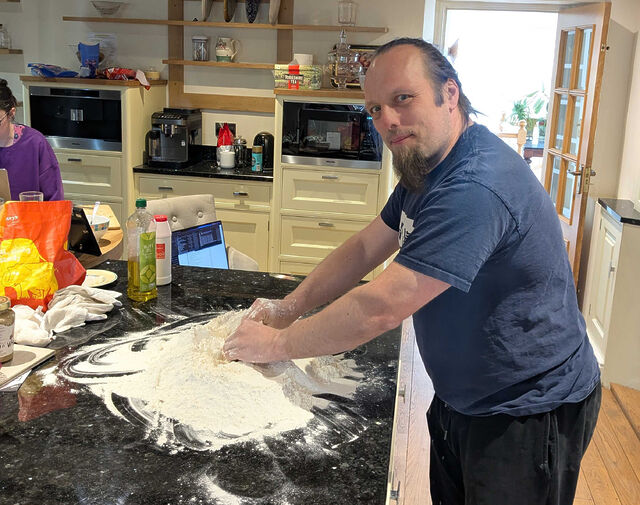
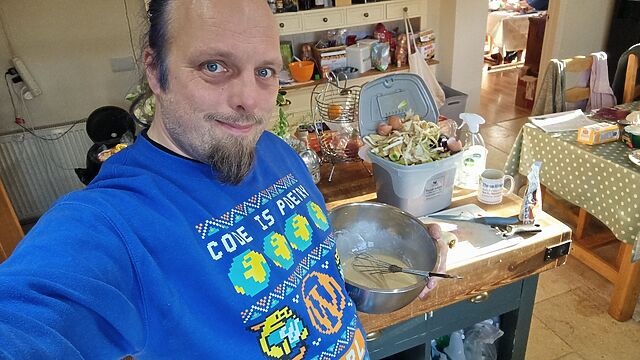
There was no mixing bowl large enough to accommodate the 4.5kg of flour so I just dumped it onto a surface, added some salt and sugar, made a well in the middle, and introduced my oil, water and rehydrated yeast right into the middle of it.
Minus a few minor spills, it broadly worked as a technique.
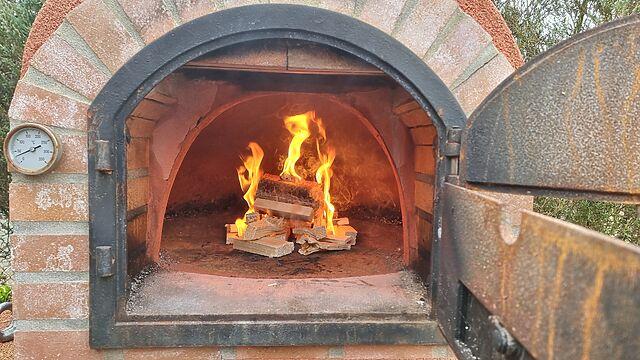
After an initial rise I knocked-back the dough and separated it into balls, and got started on building the fire.
I own a small, portable Ooni pizza oven that’s fired by woodchips, and I find it pretty challenging to use. It eats fuel pretty quickly and loses heat through its thin walls just as fast, and so it’s hard to maintain a consistent temperature while simultaneously maintaining the supply of wood and cooking pizza.
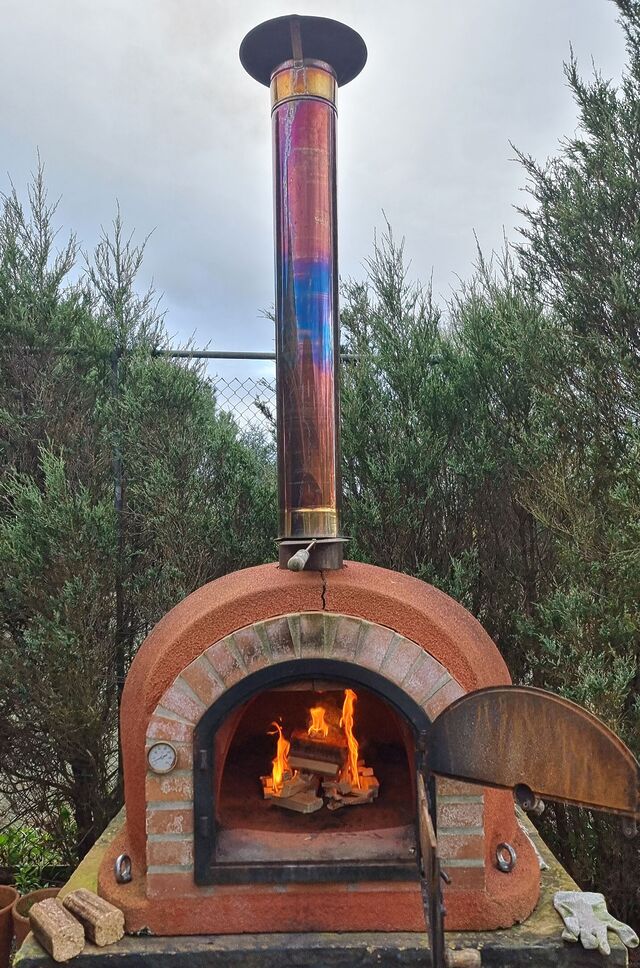
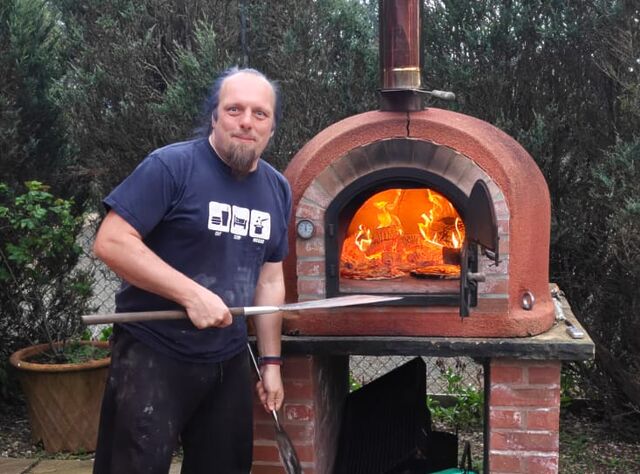
This brick-built oven, though, was a different kind of beast.
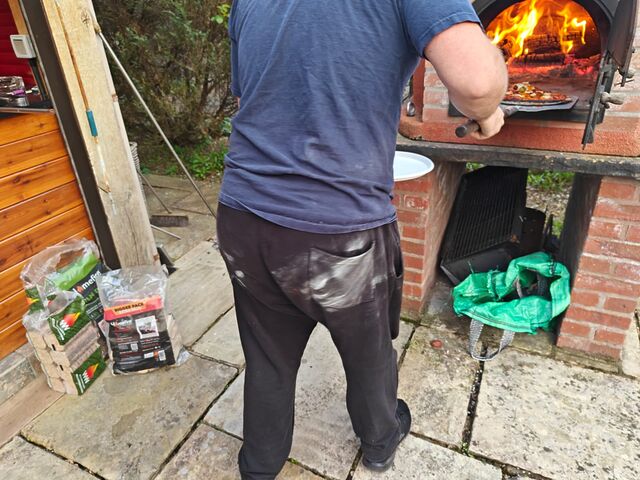
I set up a prep station nearby and had Three Rings volunteers “build their own” pizzas: stretching or rolling the dough, adding sauce and cheese and other toppings, etc. And then I rotated them through the oven, up to two at a time.
My arms were already tired from the workout of hand-kneading the enormous pile of dough, and it was hot and tiring work to keep making, moving, and turning pizzas… but it was also… amazingly fun.
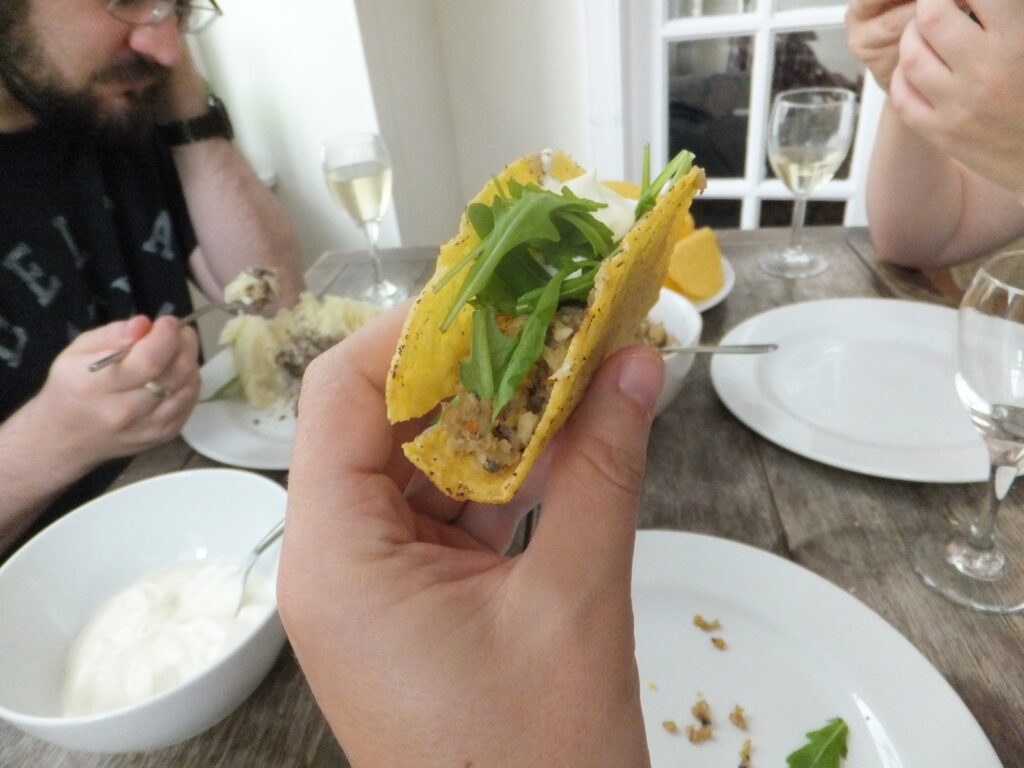
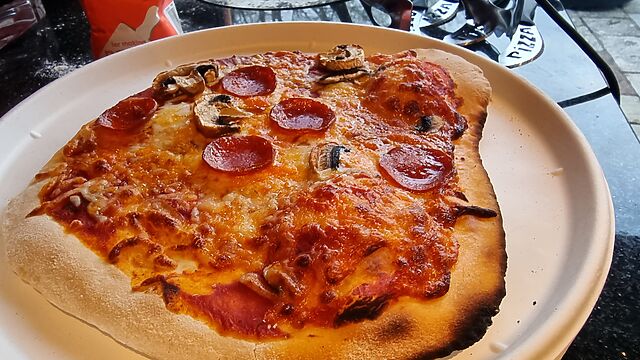
As the pizzas started to come out, Three Rings volunteers did too, gathering around the fire pit and in the covered dining areas of the garden, glasses in hand, to enjoy freshly-baked hot slices of crispy pizza, while they talked about volunteering, history, the future, and a diversity of other random topics beside (space travel, politics, music, teaching…).
Awesome.
So yeah… now I really want to build a brick pizza oven of my very own.
Obviously I’ve got other priorities right now (like having somewhere to live following the house-wrecking flood), but maybe that’s something I could look at in a future year.
3Camp remains an annual tradition that I love dearly: the camaraderie, the doing-good-in-the-world, the opportunity to work alongside so many kind and talented volunteers, the chance to play with exciting technology, and whole experience… but the pizzas on the penultimate evening have got to go down as a special highlight this year.