@addyosmani is on the right and @benjaminbenben is on the left… but their pictures are the other way around. Aaarrgh! #RenderConf
Blog
Note #7345
Good morning, #RenderConf! Thanks for a great quiz last night (shout out to my boys in HTTP 418) and for the subsequent hangover!
Dan Q found GLMPG4GX Swing Lower (Historic Site)
This checkin to GLMPG4GX Swing Lower (Historic Site) reflects a geocaching.com log entry. See more of Dan's cache logs.
Ignore the naysayers and the cowards: this cache is still firmly in location, and just as accessible as it has been since my first visit to it, several years ago: in fact, thanks to the trimming-back of some foliage, it’s actually slightly easier to get to then it was the last time I checked-in on it!
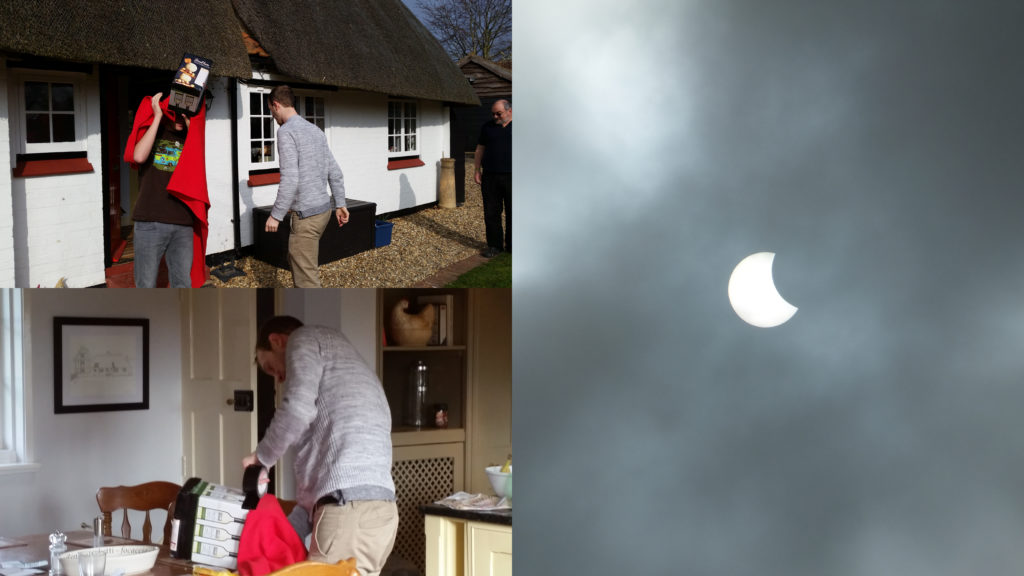
Solar Eclipses
This is a repost promoting content originally published elsewhere. See more things Dan's reposted.
What’s the difference between a total and an annular solar eclipse?
Split A Note
Trying out a new magic trick. Have you got change for a £30? Can you help me split a note?
Eiffel Tower
This is a repost promoting content originally published elsewhere. See more things Dan's reposted.
Is it true that the air around The Eiffel Tower weighs more than the tower?
DevCamp – have we really been doing this for 7 years?
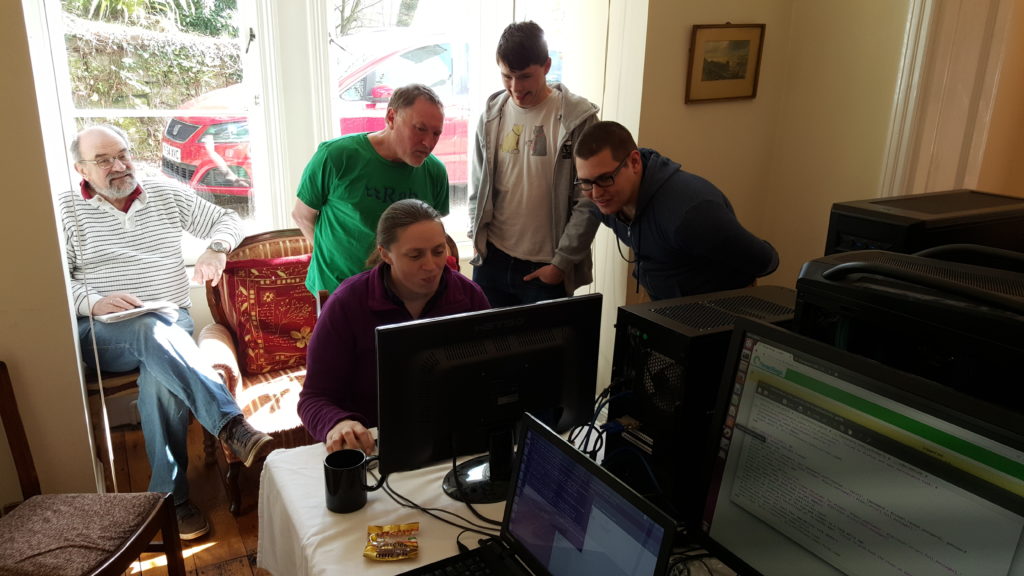
An annual tradition at Three Rings is DevCamp, an event that borrows from the “hackathon” concept and expands it to a week-long code-producing factory for the volunteers of the Three Rings development team. Motivating volunteers is a very different game to motivating paid employees: you can’t offer to pay them more for working harder nor threaten to stop paying them if they don’t work hard enough, so it’s necessary to tap in to whatever it is that drives them to be a volunteer, and help them get more of that out of their volunteering.

At least part of what appeals to all of our developers is a sense of achievement – of producing something that has practical value – as well as of learning new things, applying what they’ve learned, and having a degree of control over the parts of the project they contribute most-directly to. Incidentally, these are the same things that motivate paid developers, too, if a Google search for studies on the subject is to believed. It’s just that employers are rarely able to willing to offer all of those things (and even if they can, you can’t use them to pay your mortgage), so they have to put money on the table too. With my team at Three Rings, I don’t have money to give them, so I have to make up for it with a surplus of those things that developers actually want.
It seems strange to me in hindsight that for the last seven years I’ve spent a week of my year taking leave from my day job in order to work longer, harder, and unpaid for a voluntary project… but that I haven’t yet blogged about it. Over the same timescale I’ve spent about twice as long at DevCamp than I have, for example, skiing, yet I’ve managed to knock out several blog posts on that subject. Part of that might be borne out of the secretive nature of Three Rings, especially in its early days (when involvement with Three Rings pretty-much fingered you as being a Nightline volunteer, which was frowned upon), but nowadays we’ve got a couple of dozen volunteers with backgrounds in a variety of organisations: and many of those of us that ever were Nightliner volunteers have long since graduated and moved-on to other volunteering work besides.
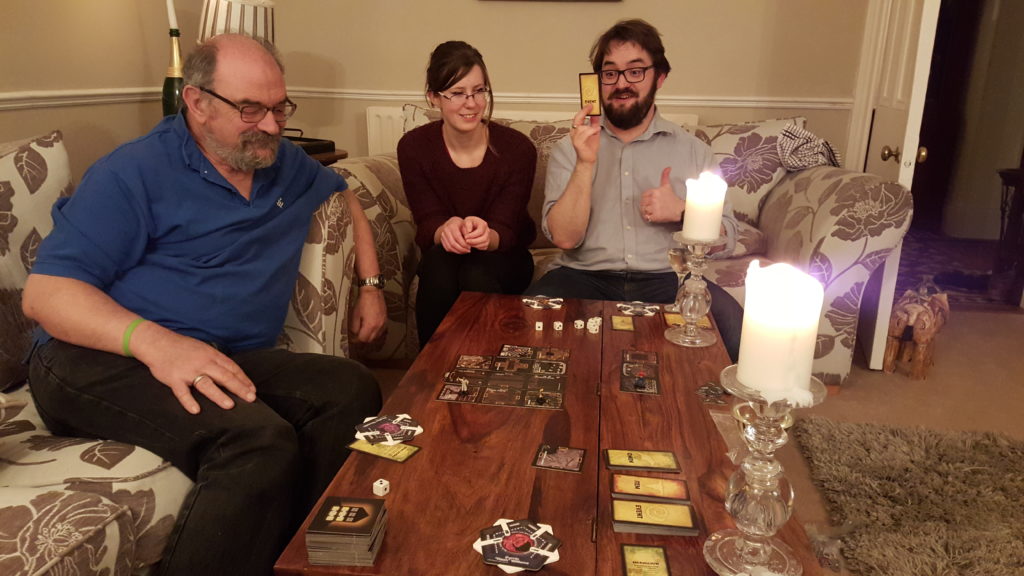
Part of the motivation – one of the perks of being a Three Rings developer – for me at least, is DevCamp itself. Because it’s an opportunity to drop all of my “day job” stuff for a week, go to some beatiful far-flung corner of the country, and (between early-morning geocaching/hiking expeditions and late night drinking tomfoolery) get to spend long days contributing to something awesome. And hanging out with like-minded people while I do so. I like I good hackathon of any variety, but I love me some Three Rings DevCamp!
So yeah: DevCamp is awesome. It’s more than a little different than those days back in 2003 when I wrote all the code and Kit worked hard at distracting me with facts about the laws of Hawaii – for the majority of DevCamp 2016 we had half a dozen developers plus two documentation writers in attendance! – but it’s still fundamentally about the same thing: producing a piece of software that helps about 25,000 volunteers do amazing things and make the world a better place. We’ve collectively given tens, maybe hundreds of thousands of hours of time in developing and supporting it, but that in turn has helped to streamline the organisation of about 16 million person-hours of other volunteering.
So that’s nice.
Oh, and I was delighted that one of my contributions this DevCamp was that I’ve finally gotten around to expanding the functionality of the “gender” property so that there are now more than three options. That’s almost more-exciting than the geocaches. Almost.
Edit: added a missing word in the sentence about how much time our volunteers had given, making it both more-believable and more-impressive.
Dan Q found GLMJ54B9 #Alice In Wyederland – Bonus – Was it all a dream?
This checkin to GLMJ54B9 #Alice In Wyederland - Bonus - Was it all a dream? reflects a geocaching.com log entry. See more of Dan's cache logs.
N 51° 43.370 W 002° 41.257
In my previous log entry, I’d gotten to the end of a two-trip expedition to find Alice In Wyederland caches #1 through #10 and thus collect all of the information necessary to find this, the bonus cache… only to discover that somehow I’d only remembered to write down 9 out of the ten numbers necessary to know for certain the location of this bonus cache. However, I knew that this was my last chance to complete the series (I was already overdue back at Underhill and I wouldn’t get another opportunity to come out before I had to return to Oxfordshire tomorrow morning), so I’d resolved to use what information I had, plus some logical deduction, to calculate the permutations that were reasonable possibilities for the location of this final stage.
My first attempt was… wrong.
I shan’t share the coordinates that I thought the cache might be at, of course (in case somebody else tries to use them to work out where it really is), but suffice to say that I found myself at around N 51°43.370, W 002° 41.257 and half-way down a steep and treacherous embankment before I thought to double-check the cache description and went “Hang on a minute… this isn’t a Terrain 1.5: it’s more like a 3 or 4!”That’s when I realised that I must be very, very off course.
I took a painful clamber back to solid ground and once again cursed the fact that I’d somehow neglected to write down one of the digits from the previous five caches… or, at least, that I hadn’t been more-careful and noted specifically which cache each of the four digits I had recorded had come from: I’d written them down in order, but I didn’t know for certain whether it was #6, #7, #8 or #9 that I was missing!
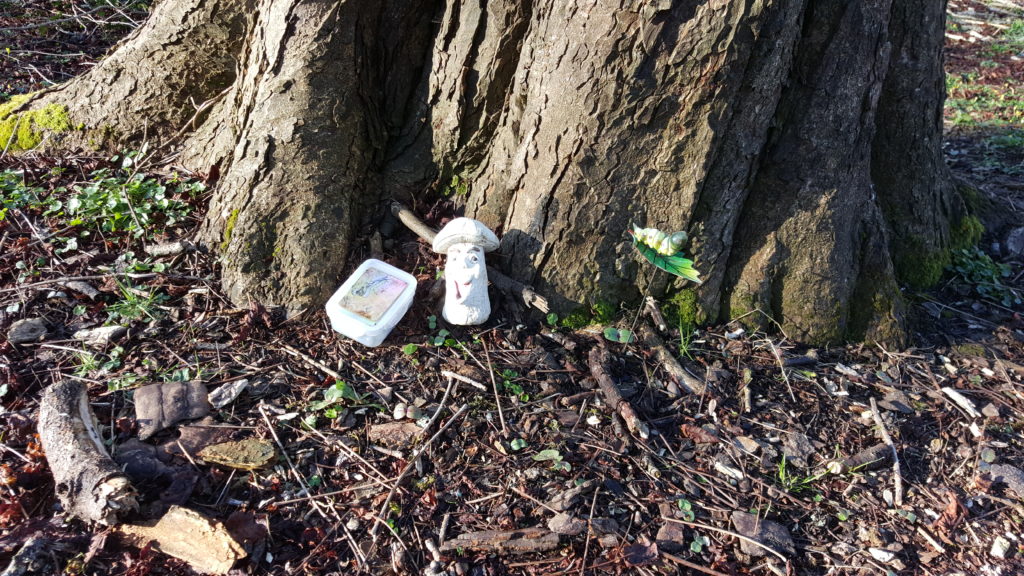
I calculated the remaining permutations, and one of them looked feasible, so I trekked over there and was delighted to discover that my maths had paid-off: my GPSr was right on the money and delivered me right to the spot. Looking at the log, it looks like a confused muggle has found it at some point (they’ve written into it “Can anybody explain to me what this book is all about?”, and a geocacher has left a helpful comment in case they return, telling them what to search for on the Web!).
So: victory in the end, and a great end to one of the best cache series I’ve ever visited. FP awarded, and very well-earned: it’s hard to pick out favourites among the series, because so many of them were so good, but the rewarding moment of getting here, to the finale, was a particularly special moment.
Left German “Go East” geocoin (yeah, I know – I brought it West – sorry about that). Also improved the camoflage of the cache with the help of some nearby natural resources (it was somewhat more-visible from the nearest path than I think the CO had intended).
Thanks so much for this series, RaynSallynIsabelle: the geocaching world needs more people like you.
Dan Q found GLMJ52FH #10 Alice In Wyederland – Who Stole the Tarts?
This checkin to GLMJ52FH #10 Alice In Wyederland - Who Stole the Tarts? reflects a geocaching.com log entry. See more of Dan's cache logs.
N 51° 42.902 W 002° 41.262
A bit more of a trek to this cache on this morning’s expedition, especially as I needed to divert around a bit of the path that had flooded and become impossibly muddy, at about N 51°42.902′ W 002°41.262 (added as log coordinate).
Found the cache without difficulty (nice to have on a little bit off the track, too: had to hop a brook to get here!) and tried to work out the location of the bonus… but discovered to my horror that I’d somehow got only 9 numbers written on the back of my hand; not 10 as I’d expected. I realised to my horror that I must have forgotten to write down one of the numbers from one of today’s caches! (There might have been some swearing at this point in my expedition.)
But, I thought: I can probably work it out! My first five digits (which I collected earlier in the week) must certainly be correct. So it’s only the last five. Of these, the final one I knew must be the final (least-significant) digit, because I was standing at cache #10 and I could see it, so that meant that I had three digits to put into four possible positions, and one unknown digit to put into the gap… how many permutations could there be? And it’s simplified a little further still, because I know that the missing digit can’t be a 0, because there’s no way to express that using playing cards… and I knew that if the missing digit was the one from cache #6 (the most-significant unknown digit of longitude) then there was an even more-limited number of possibilities (or else the cache would be further away from the series’ recommended parking spot than the distance stated in the description)… I was already running late and didn’t want to have to double-back, so I started coming up with permutations of digits at which the bonus cache could be! Once I found a likely candidate, I set off for it… but would I be correct?
Dan Q found GLMJ5191 #9 Alice In Wyederland – The Mock Turtle’s Story
This checkin to GLMJ5191 #9 Alice In Wyederland - The Mock Turtle's Story reflects a geocaching.com log entry. See more of Dan's cache logs.
Disturbed a herd of deer (who were having their breakfast) on my way up to this cache: must have been 10 or 11 of them: I’ve never seen so many deer together in the wild before – I usually only see them alone or in 2s or 3s! They made a hell of a noise as they stampeded away, startled by my appearance on “their” path!
On the way up to this point, I discovered that I had, on ocassion, a really good view East across the valley to the house in Underhill that I’ve been staying in this week. Over there, others from my voluntary group would be by now getting up and having their breakfast, I supposed: the slippery conditions and spending longer than expected searching for some of the caches had slowed me down a little.
Found the cache and signed the log. Another wonderful bit of cache theming here!
Dan Q found GLMJ5106 #8 Alice In Wyederland – Tweedledum & Tweedledee
This checkin to GLMJ5106 #8 Alice In Wyederland - Tweedledum & Tweedledee reflects a geocaching.com log entry. See more of Dan's cache logs.
Somehow ended up way off course in my search for this cache and spent about a quarter of an hour looking in entirely the wrong place. The hint didn’t help, so I circled around a little more and then returned to the footpath… where I instantly saw what the hint was talking about: how could I have been such a (Tweedle)dummy to miss it first time around! Really interesting location! Signed the log and carried on.
Dan Q found GLMJ50RZ #7 Alice In Wyederland – The Queen of Hearts
This checkin to GLMJ50RZ #7 Alice In Wyederland - The Queen of Hearts reflects a geocaching.com log entry. See more of Dan's cache logs.
Continuing my morning adventure, I quickly discovered that my OpenStreetMap plans of this hillside were woefully inaccurate as regards the locations of the paths! Still, my GPSr was playing nicely and I was heading the right way, at least! The thick layer of mud and damp, dead leaves made for slower progress uphill than I’d have liked, but I was still able to find this cache in reasonably short order.
Dan Q found GLMJ50JZ #6 Alice In Wyederland – Mad Hatters Tea Party
This checkin to GLMJ50JZ #6 Alice In Wyederland - Mad Hatters Tea Party reflects a geocaching.com log entry. See more of Dan's cache logs.
Out for another morning adventure, this time with the plan to finish the Alice In Wyederland series (I found 1 through 5 earlier in the week) and collect the bonus, I set off from Underhill at about 07:15. A nice walk to this first cache and I was underway!
Dan Q found GLMJ08ZC Ferryman’s Fury
This checkin to GLMJ08ZC Ferryman's Fury reflects a geocaching.com log entry. See more of Dan's cache logs.
The last of my finds for today, during my walk from Tintern to Underhill. The rain stopped in the end and so I didn’t have to get soaked while standing out on the bridge (although I did get odd looks from passing cars: I tried to look like I was admiring the view!). Nice little cache. TFTC.
Logs looking scrappy and close to end-of-life: not going to flag for maintenance because it’s still a perfectly servicable cache, but the next time you’re in the area it’d probably appreciate a new roll of paper.
Really impressed by many of the caches I’ve seen in this area, this week. Thanks so much!
Dan Q found GLMJ0816 Tintern Track
This checkin to GLMJ0816 Tintern Track reflects a geocaching.com log entry. See more of Dan's cache logs.
The weather came down and, perhaps in response to it or perhaps just because of the tree cover, my GPSr started playing up. Still: a little pacing up and down to get a fix again made all the difference, and I was soon able to find this cache. TFTC!