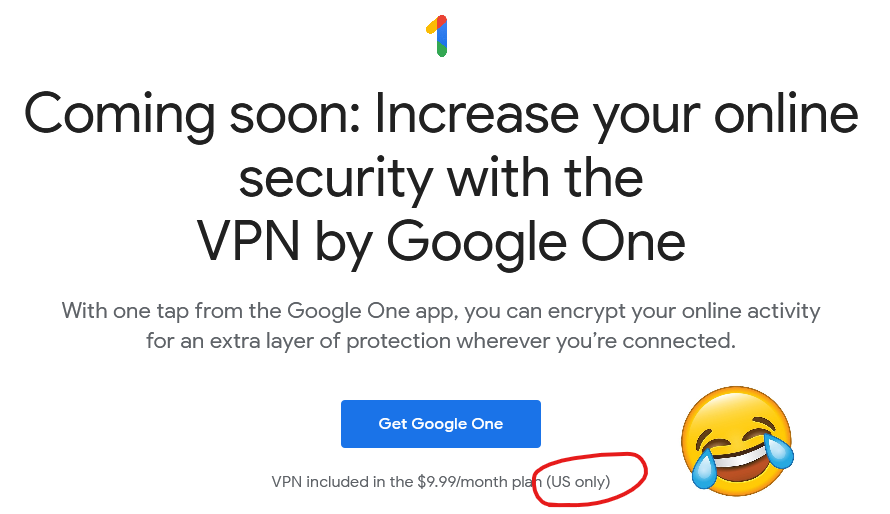
With the news that the British government are considering requiring identity checks for age verification before allowing people to use VPNs, it’s time for my periodic reminder that you don’t have to use a “VPN provider” to use a VPN1.
As I’ll demonstrate, it’s surprisingly easy to spin up your own VPN provider on a virtual machine hosted by your choice of the cloud providers. You pay for the hours you need it2, and then throw it away afterwards.
Today, I’ll be using Linode to host my “throwaway” VPN provider for a price of USD $0.0075 per hour ($5/month if I ran it full-time), using a Linode StackScript I created for this purpose.
If you’d prefer to use GCP, AWS Azure, or whomever else you like: all you need is a Debian 13 VM with a public IP address (the cheapest one available is usually plenty!) and this bash script.
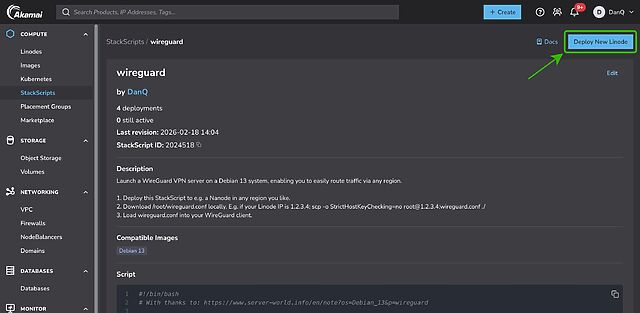
First, spin up a VM and run my script3. If you’re using Linode, you can do this by going to my StackScript and clicking ‘Deploy New Linode’.
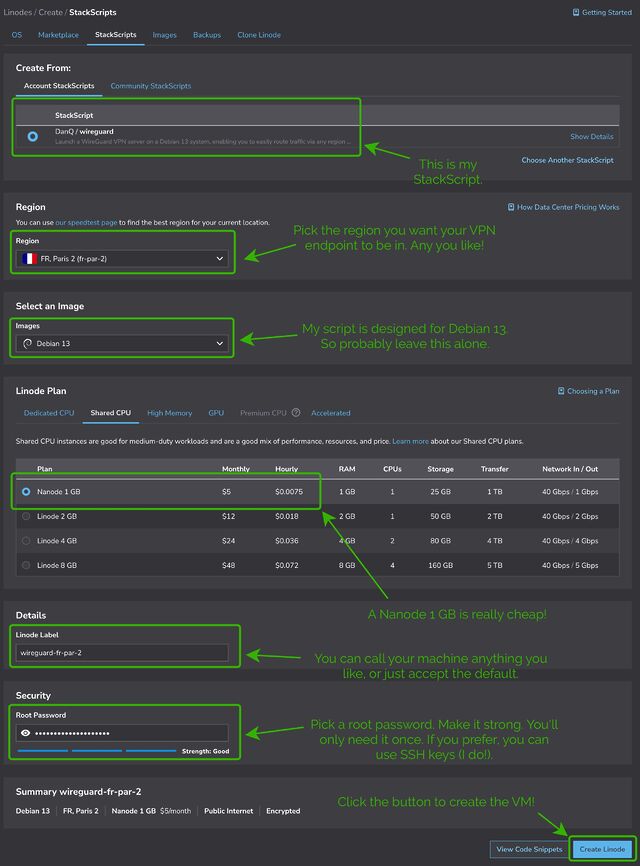
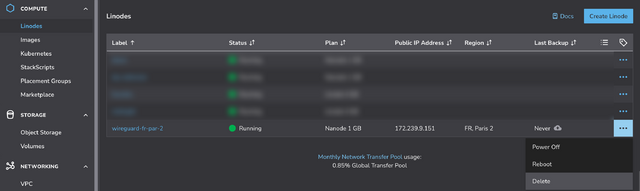
Choose any region you like (I’m putting this one in Paris!), select the cheapest “Shared CPU” option – Nanode 1GB – and enter a (strong!) root password, then click Create Linode.
It’ll take a few seconds to come up. Watch until it’s running.
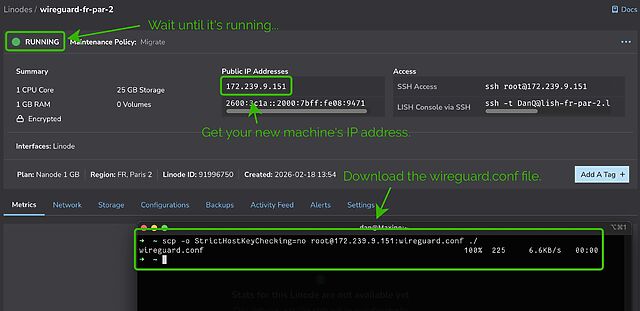
My script automatically generates configuration for your local system. Once it’s up and running you can use the machine’s IP address to download wireguard.conf locally. For
example, if your machine has the IP address 172.239.9.151, you might type scp -o StrictHostKeyChecking=no root@172.239.9.151:wireguard.conf ./ – note that I
disable StrictHostKeyChecking so that my computer doesn’t cache the server’s SSH key (which feels a bit pointless for a “throwaway” VM that I’ll never connect to a second time!).
If you’re on Windows and don’t have SSH/SCP, install one. PuTTY remains a solid choice.
File doesn’t exist? Give it a minute and try again; maybe my script didn’t finish running yet! Still nothing? SSH into your new VM and inspect
stackscript.log for a complete log of all the output from my script to see what went wrong.

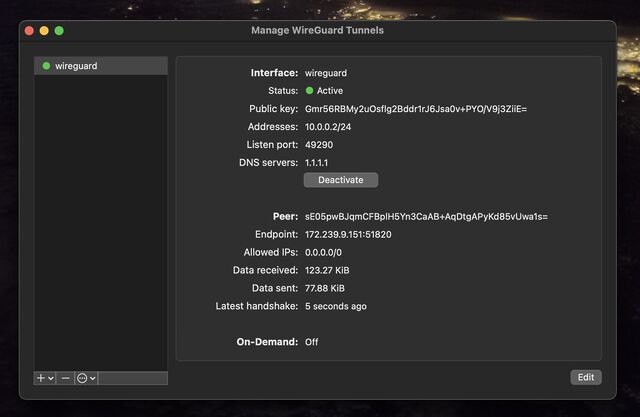
Open up WireGuard on your computer, click the “Import tunnel(s) from file” button, and give it the file you just downloaded.
You can optionally rename the new connection. Or just click “Activate” to connect to your VPN!
You can test your Internet connection is being correctly routed by your VPN by going to e.g. icanhazip.com or ipleak.net: you should see the IP address of your new virtual machine and/or geolocation data that indicates that you’re in your selected region.
When you’re done with your VPN, just delete the virtual machine. Many providers use per-minute or even per-second fractional billing, so you can easily end up spending only a handful of cents in order to use a VPN for a reasonable browsing session.
When you’re done, just disconnect and – if you’re not going to use it again immediately – delete the virtual machine so you don’t have to pay for it for a minute longer than you intend4.
I stopped actively paying for VPN subscriptions about a decade ago and, when I “need” the benefits of a VPN, I’ve just done things like what I’ve described above. Compared to a commercial VPN subscription it’s cheap, (potentially even-more) private, doesn’t readily get “detected” as a VPN by the rare folks who try to detect such things, and I can enjoy my choice of either reusable or throwaway IP addresses from wherever I like around the globe.
And if the government starts to try to age-gate commercial VPNs… well then that’s just one more thing going for my approach, isn’t it?
Footnotes
1 If you’re a heavy, “always-on” VPN user, you might still be best-served by one of the big commercial providers, but if you’re “only” using a VPN for 18 hours a day or less then running your own on-demand is probably cheaper, and gives you some fascinating benefits.
2 Many providers have coupons equivalent to hundreds of hours of free provision, so as long as you’re willing to shuffle between cloud providers you can probably have a great and safe VPN completely for free; just sayin’.
3 Obviously, you shouldn’t just run code that strangers give you on the Internet unless you understand it. I’ve tried to make my code self-explanatory and full of comments so you can understand what it does – or at least understand that it’s harmless! – but if you don’t know and trust me personally, you should probably use this as an excuse to learn what you’re doing. In fact, you should do that anyway. Learning is fun.
4 Although even if you forget and it runs for an entire month before your billing cycle comes up, you’re out, what… $5 USD? Plenty of commercial VPN providers would have charged you more than that!