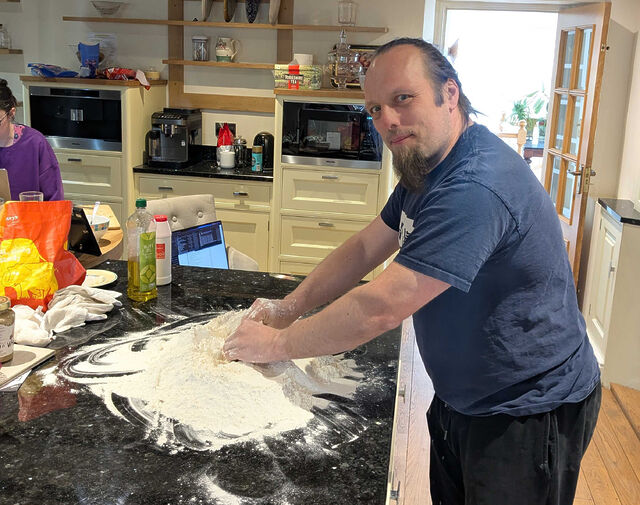
There was no mixing bowl in the house large enough to make enough pizza dough to feed all of the Three Rings volunteers present at this year’s 3Camp, so I just had to pour out all the ingredients onto the surface and work from there.
There was no mixing bowl in the house large enough to make enough pizza dough to feed all of the Three Rings volunteers present at this year’s 3Camp, so I just had to pour out all the ingredients onto the surface and work from there.
Most-often when a toaster has a ‘cancel’ button it’s simply labelled ‘cancel’, ‘stop’, or with a cross. But this week, I discovered a toaster that uses the ‘eject’ icon – like you’d find on a VHS tape recorder – on its button.
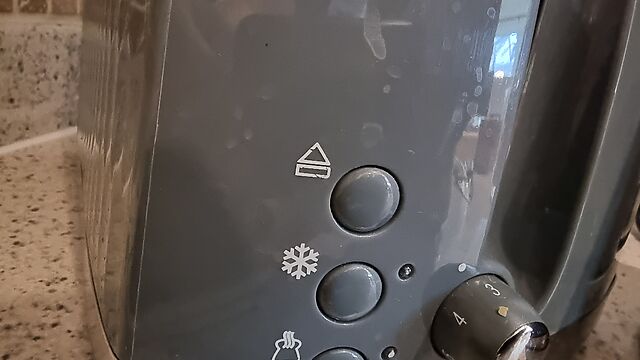
At first I thought this was an unusual user interface choice, but I’m coming around to it. It feels like a more-accurate and skeuomorphic representation of what actually happens than a cross suggests.
But the existence of toasters like this one does necessarily mean that, some day, some Gen Alpha will see a tape deck in, like, a museum or something, and will say ‘hey, that’s cute: the button you press to pop the tape out is the same as the one you use to pop your toast out’.
I’m not sure which of our children was last in this bath, but the configuration in which they’ve left their toys makes me feel as though I’m the subject of some kind of waterfowl-related shunning.
Perhaps they finally got wind or my heretical opinions on the God of Ducks (may he throw us bread) and they’ve collectively decided to disassociate from me?

This post is part of my attempt at Bloganuary 2024. Today’s prompt is:
What snack would you eat right now?
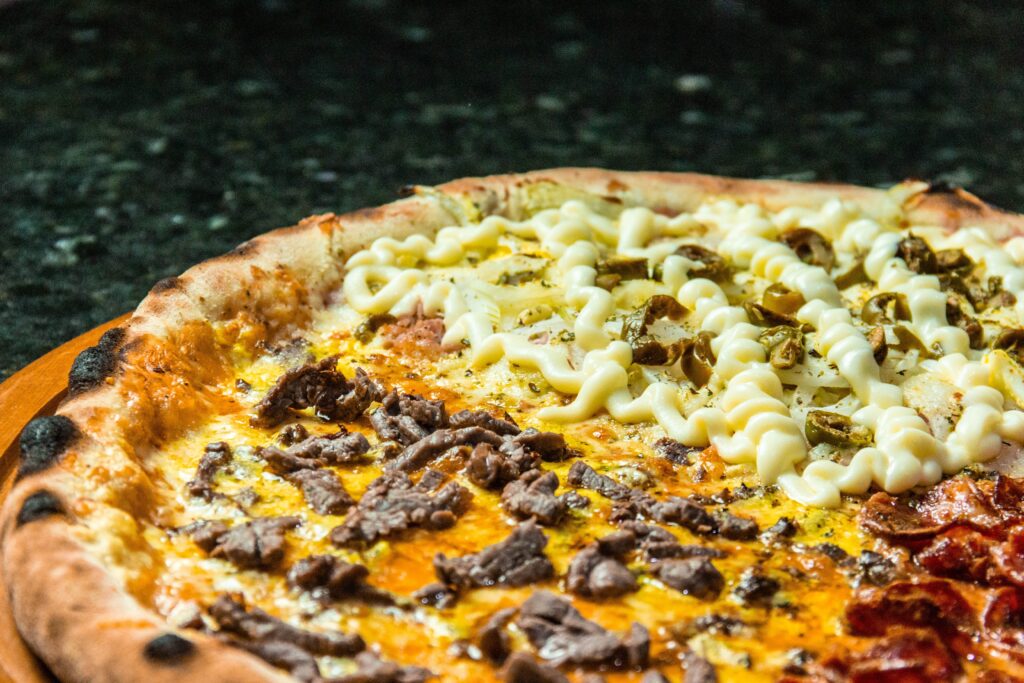
Pizza.
Always pizza.
Forever pizza.
Do you know what I love about pizza? Everything. Every little thing1.
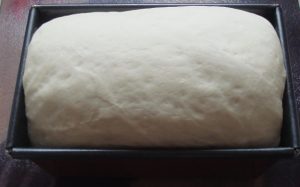
First up, it’s a bread product. Bread is magical. You take flour, water, a pinch of salt, and a certain other magical ingredient, knead it, let it rest, knock it back, and bake it, and you end up with food. The magical ingredient is yeast, and it’s a tiny living organism that eats carbohydrates and excretes a lot of carbon dioxide and a little bit of alcohol. Humans use both, but whether you’re brewing beer or baking bread the process feels somewhat mystical and otherworldly.
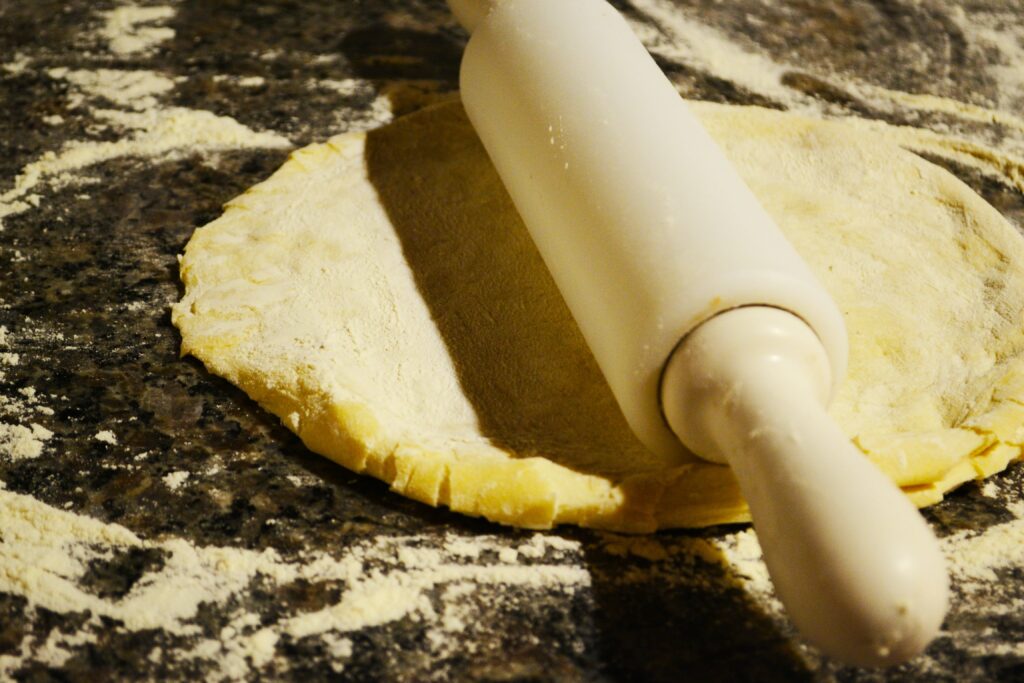
But it’s not like rising a loaf nor is it like finishing a flatbread. Pizza dough is risen, but kept thin to act as a base for everything else. And already there’s such variety: do you spin it out in a classic thin Neapolitan style to get those deliciously crispy leopard-print cornicione bites? Do you roll it out thick to hold a maximum depth of tomato sauce and other toppings when you pile it high, per the Chicago tradition? Do you go somewhere in-between? Or perhaps do something different entirely like a calzone or panzarotto? There’s no wrong answer, but already so many options.
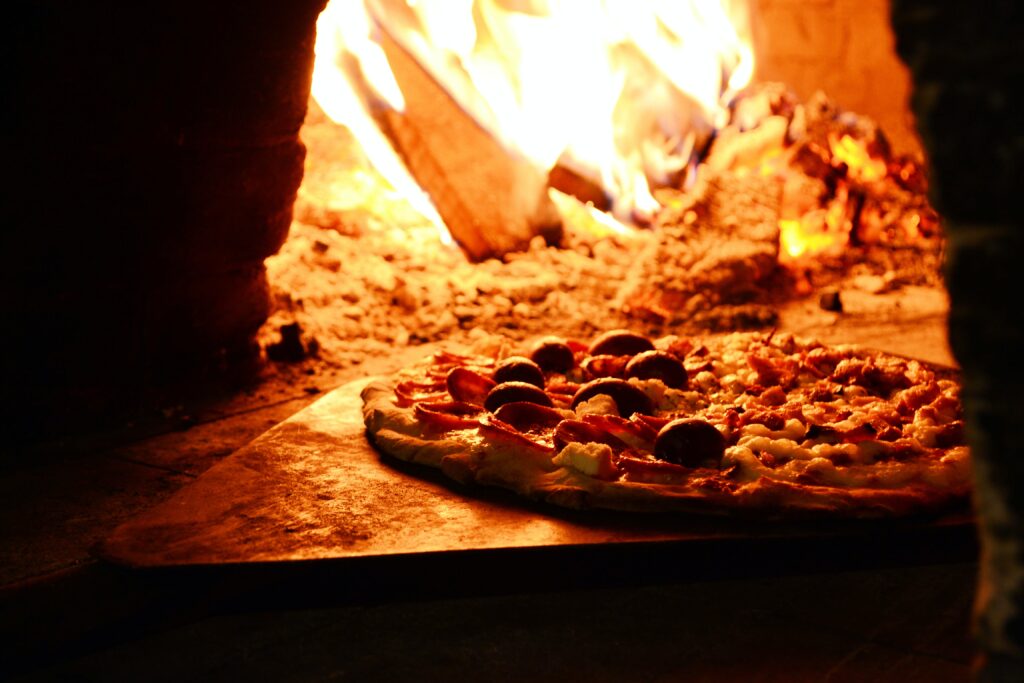
Pizza is cooked fast: the relatively thin surface absorbs heat quickly, and you keep your oven hot, baking the bread and heating the toppings at the same time. If you’re feeling fancy and fun then you can add some extras as it cooks. Crack an egg into the centre, perhaps, or drizzle some chilli oil across the entire thing. Or keep it plain and simple and let the flavours combine as the dish cooks. Whatever you do, you’ll be enjoying delicious hot food within minutes of putting it into the oven: the cooking-speed to deliciousness ratio is perhaps the highest of any savoury food.
If my favourite meal is pizza3, my second-favourite has to be leftover pizza. Because it reheats easily and makes a great next-morning snack. Or can be enjoyed cold, hours or days after the fact. It’s even suitable for parbaking and chilling or freezing, making it an excellent convenience food4. It’s widely produced in a variety of styles (and qualities) in restaurants and takeaways wherever you go, and its convenient shape means that it can be boxed and stacked with little more help than, perhaps, one of those little plastic “tables” that stop the centre of the cardboard box sagging onto it.
So yeah, I’ll take a slice to go with mozzarella, peppers and red onion for my snack, please.
1 If you know me well, you’re probably well-aware of my love of pizza, although you might previously have seen it articulated so thoroughly.
2 #NotAllPizzas! You don’t have to feel constrained by the
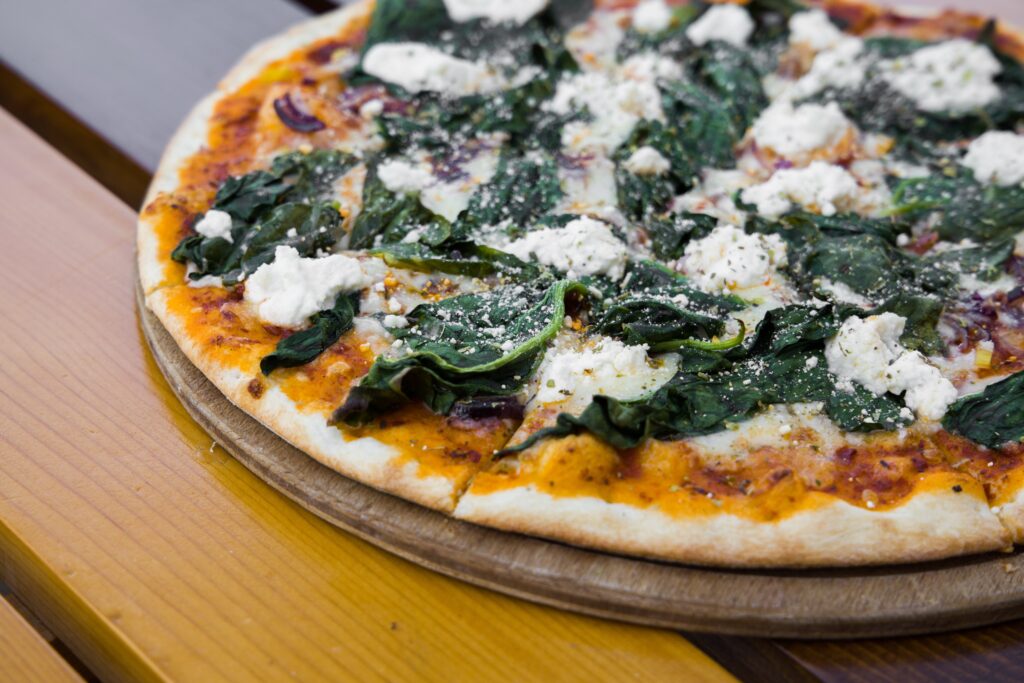
bread-plus-tomato-plus-cheese-plus-other stuff paradigm. Swap out the tomato sauce for barbecue sauce on the base of a meaty pizza with a spicy tang or omit it entirely for a
pizza bianca. Replace the cheese or remove it entirely for a vegan or lactose-free alternative. Or dispense with both entirely and spread pesto on your base, topped with
roasted vegetables! The sky’s the limit!
3 It is. What gave it away?
4 Obviously I prefer a lovingly-crafted hand-stretched pizza, freshly-made under ideal circumstances. But pizza is so good that it’s still usually perfectly acceptable even when it’s mass-produced at economy scale and frozen for later consumption, which is more than can be said for many foods.
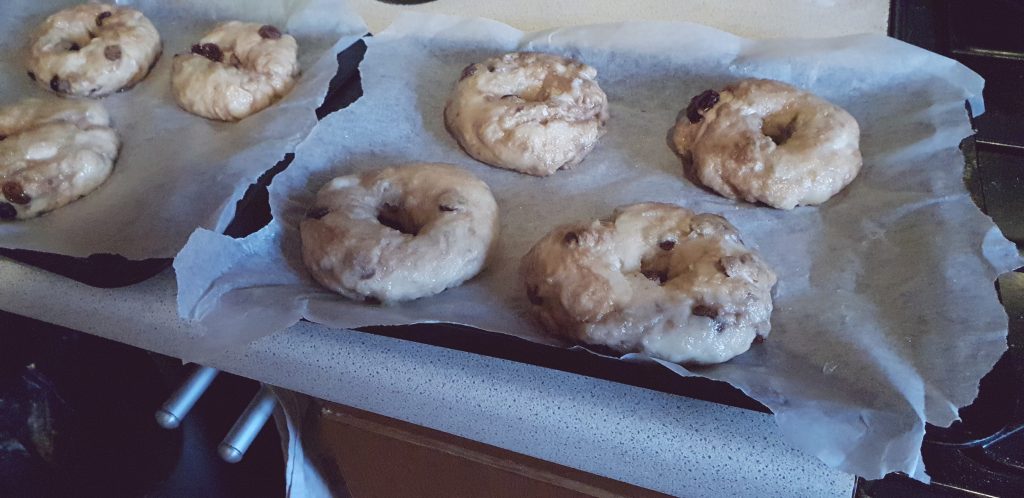
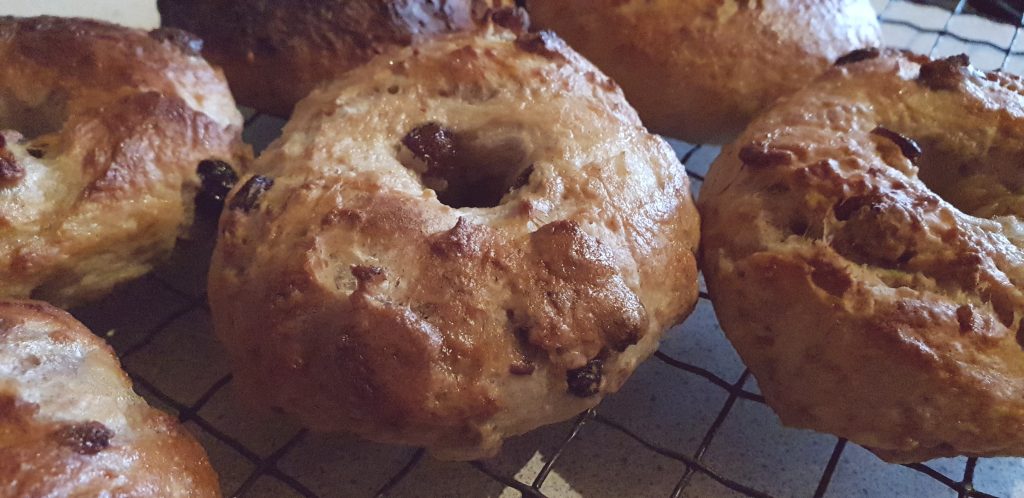
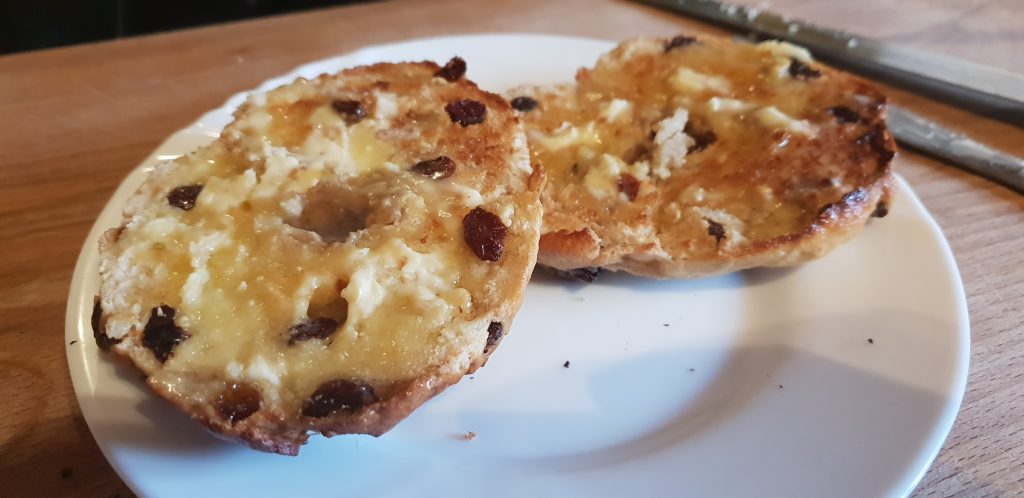
Noticing that our bagel supply was running low and with two kids who’d happily fight to the death for the last one if it came down to it, I decided this weekend to dust off an old recipe and restock using the ingredients in our cupboard. For a festive spin, I opted to make cranberry and cinnamon bagels, and served a few at my family’s regular Sunday brunch. Little did I know that they would turn out to be such a hit that not one from the resupply would survive to the end of the day, and I’ve been pressed into making them again in time for breakfast on Christmas Day (or, as Ruth suggested as she and Robin fought for the last one in a manner more-childish than the children ever would, I could “make them any time I feel like it; every week maybe?”).

If you’d like to make your own, and you totally should, the recipe’s below. I prefer volumetric measurements to weight for bread-making: if you’re not used to doing so, be sure to give your dry ingredients a stir/shake to help them settle when measuring.
Yield: 8 bagels
Duration:
Mostly this recipe’s here for my own reference, but if you make some then let me know how they turn out for you. (Oh, and for those of you who prefer when my blog posts are technical, this page is marked up in h-recipe.)
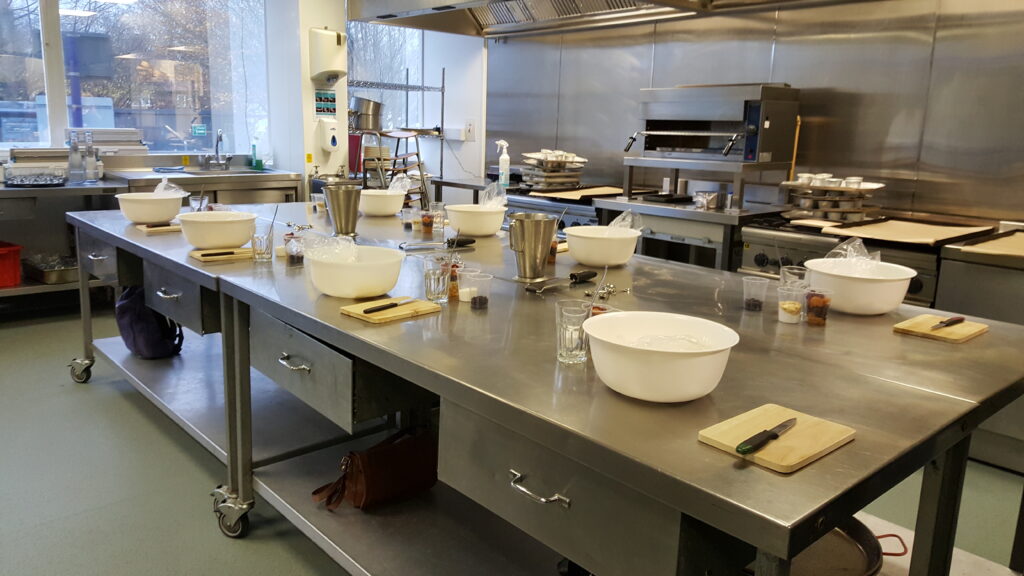
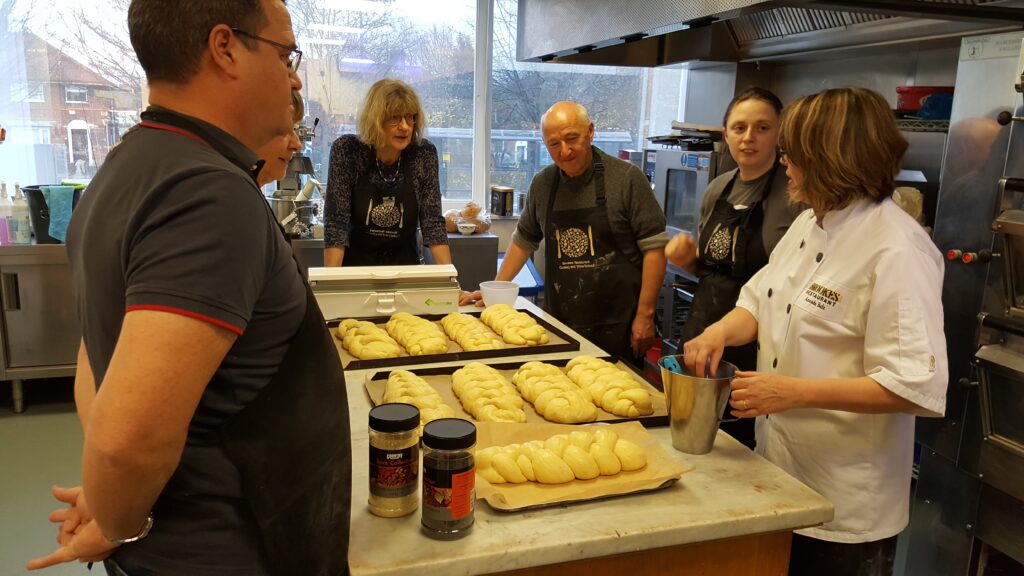
Yesterday, Ruth and I attended a Festive Breads Workshop at the Oxford Brookes Restaurant Cookery and Wine School, where we had a hands-on lesson in making a variety of different (semi-)seasonal bread products. It was a fantastic experience and gave us both skills and confidence that we’d have struggled to attain so-readily in any other way.

The Oxford Brookes Restaurant is a working restaurant which doubles as a place for Brookes’ students to work and practice roles as chefs, sommeliers, and hospitality managers as part of their courses. In addition, the restaurant runs a handful of shorter or day-long courses for adults and children on regional and cuisine-based cookery, knife skills, breadmaking, and wine tasting. Even from the prep room off the main working kitchen (and occasionally traipsing through it on the way to and from the ovens), it was easy to be captivated the buzz of activity as the lunchtime rush began outside: a large commercial kitchen is an awesome thing to behold.
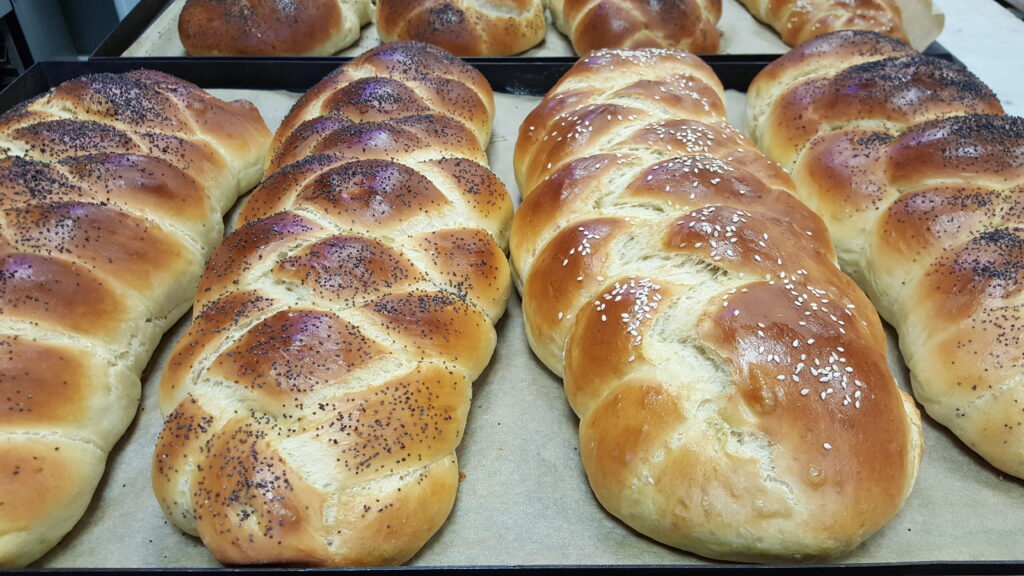
By early afternoon we’d each made five different breads: a stollen, a plaitted wreath, rum babas, a seeded flatbread, and a four-strand woven challah. That’s plenty to do (and a good amount of standing up and kneading!), but it was made possible by the number of things we didn’t have to do. There was no weighing and measuring, no washing-up: this was done for us, and it’s amazingly efficiency-enhancing to be able to go directly from each recipe to the next without having to think about these little tasks. We didn’t even have to run our breads in and out of the proofing cupboard and the ovens: as we’d be starting on mixing the next dough, the last would be loaded onto trays and carried around the kitchens.
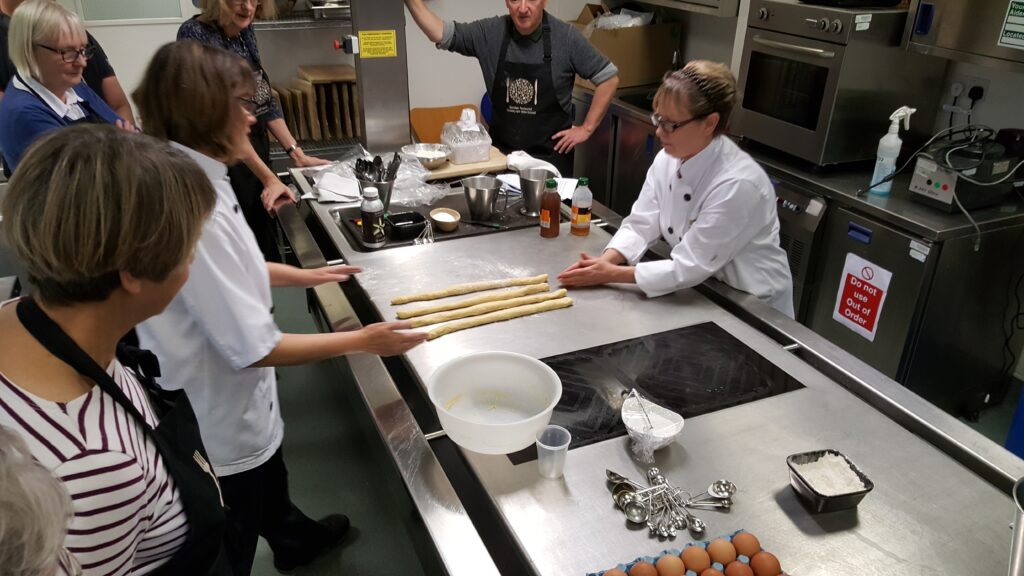
The tuition itself was excellent, too. The tutors, Amanda and Jan, were friendly and laid-back (except if anybody tried to short-cut their kneading of a wet dough by adding more flour than was necessary, in which case they’d enter “flour police” mode and start slapping wrists) and clearly very knowledgeable and experienced. When I struggled at one point with getting a dough ball to the consistency that was required, Jan stepped in and within seconds identified that the problem was that my hands were too warm. The pair complemented one another very well, too, for example with Amanda being more-inclined than Jan towards the laissez-faire approach to ingredient measurement that I prefer when I make bread, for example.
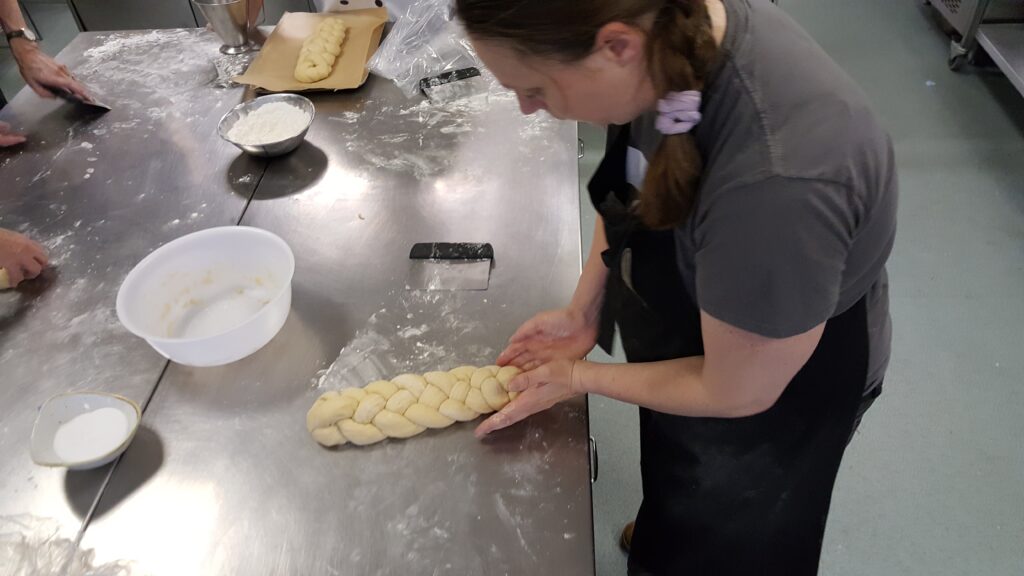
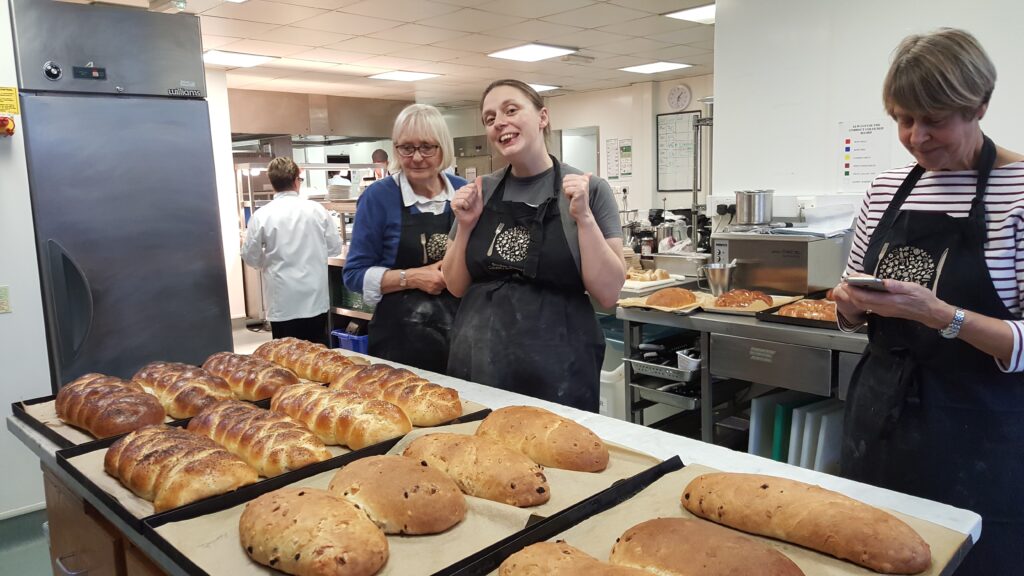
The pace was fast and Ruth in particular struggled early on to keep up, but by the end the entire group – despite many hours on our feet, much of it kneading stiff doughs – were hammering through each activity, even though there was a clear gradient in the technical complexity of what we were working on. And – perhaps again thanks to the fantastic tuition – even the things that seemed intimidating upon first glance (like weaving four strands of dough together without them sticking to one another or the surface) weren’t problematic once we got rolling.
Our hosts, apparently somehow not having enough to do while teaching and supervising us, simultaneously baked a selection of absolutely delicious bread to be served with our lunch, which by that point was just showing-off. Meanwhile, we put the finishing touches on our various baked goods with glazes, seeds, ribbons, and sugar.
And so we find ourselves with a house completely full of amazingly-tasty fresh bread – the downside perhaps of having two of us from the same household on the same course! – and a whole new appreciation of the versatility of bread. As somebody who makes pizza bases and, once in a blue moon, bread rolls, I feel like there’s so much more I could be doing and I’m looking forward to getting more adventurous with my bread-making sometime soon.
I’d really highly recommend the Brookes Restaurant courses; they’re well worth a look if you’re interested in gaining a point or two of Cooking skill.
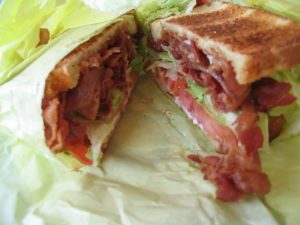
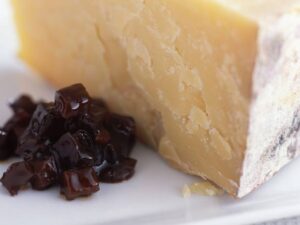
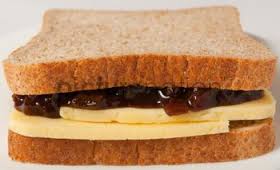
The entire infrastructure of our civilization – our entire species – is something that you can’t help but take for granted. Let’s make a cheese & pickle sandwich.
Find a grass whose seed, when crushed, yields a powdery flour rich in carbohydrates and proteins – any of the dozens of species of wheat will do, but there are plenty others besides. If you’re genuinely starting from scratch, you might find that it’s first worth your while cultivating and selectively breeding the cereal to improve its yield. Separate off the dry outer chaff from the seeds and grind them. You’ll also need some yeast, which you can acquire from the environment by letting water in which you’ve boiled vegetables sit in the warm for a few days, or by extracting it from the skins of fruits: alternatively, you can make use of yeast spores in the atmosphere by working slowly in the vicinity of fermenting sugars; e.g. somebody brewing alcohol. Combine the flour with some water and the yeast to make a dough, let it rise, then put it in a hot box for a while to bake it. There’s your bread.
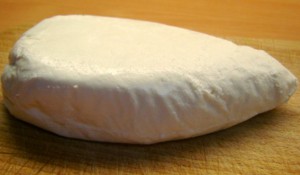
Meanwhile, domesticate some cattle. You’ll need to have started this quite a while earlier. Specifically, you’re going to need cows that have recently weaned a calf, so they’re still lactating. Manipulate the teats of the cow to extract its milk, then heat it gently while stirring it. Assuming that you don’t have the resources to identify and separate lactococcus bacteria, you’ll want to be careful not to heat the milk enough that it kills any such bacteria already in it. Add an edible acid (lemon juice will do, assuming you’ve got access to lemons; alternatively you could use vinegar, which you’ll be needing later on anyway) to cause the milk to begin separating into curds (the solid part) and whey (the liquid part) – alternatively, if you’ve got spare unweaned calves that you can kill and harvest the stomachs of, you can use rennet. If you’ve got the hang of processing cotton, you can weave yourself a square of cheesecloth and use this as a filter. Once you’ve reduced the curds as far as possible, wrap it and squeeze it in a press (you can make this by putting weight on it) for a few days, turning occasionally. Then, cover it in an airtight seal of wax (you can get this by melting honeycombs taken from a beehive), and leave it for a month or two. There’s your cheese.
Harvest some fruit and vegetables, such as – depending on availability – swede, carrots, dates, onions, cauliflower, apples, courgettes, and tomatoes, and dice them. Boil together in vinegar with cloves, mustard, and sugar added until the hardest parts (typically the swede) are firm but not crunchy. Heat a sterile, airtight container, add the mixture, and seal. Leave for a couple of weeks. Oh: you don’t have vinegar? No problem: first you’re going to need alcohol, which you can produce from fruit – apples are probably easiest; grapes are another popular choice – and yeast: just combine the two and give it a few weeks. Now, to turn that into vinegar, keep it at just over room temperature for several more weeks, stirring regularly to aerate it. Seriously: if you thought that learning to milk a cow was hard, you should have given up long before now. Anyway: there’s your pickle.
You’ll also want some butter, but by this point you’re used to a little work. Assuming you don’t have access to a centrifuge, the traditional thing to do next is to leave it sitting in a shallow pan for about 24 hours, then skimming off the top – congratulations, you’ve got cream (the remaining milk is now what you would call skimmed milk; I suggest you have yourself a cool glass of it while you start working on the next bit). Put the cream into a bowl with a pinch of salt and work it, keeping it as cool as possible while you do so, as if you were trying to make whipped cream… but keep going! If you whip it for long enough it’ll gradually become more and more solid: drain it of the excess liquid (this is buttermilk), and then form it into a ball or block. Hurrah: you’ve got butter!
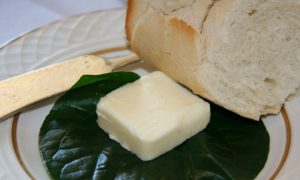
Finally, you can assemble your sandwich. Slide the bread, spread butter onto the slices, and put slices of the cheese and a spoonful of pickle in between them. That wasn’t so hard, now, was it?
You’ll be forgiven if you’re wondering why I’ve just shared with you the most drawn-out recipe imaginable, for something so simple as a cheese & pickle sandwich.
It’s just this: think about how much was involved in that process (and I didn’t even talk about making the tools you’d need). How complex is that process, compared to everything eaten by every other animal on the planet. Otters use rocks to get into shellfish, and chimpanzees use sticks to pull termites out of nests, but apart from these – and a few other exceptions – virtually no other species we’ve ever come across does anything more than picking or hunting for their food, and then eating it. We, on the other hand – even for our simplest processed foods – put a monumental amount of effort into making them the way they are.
And as if that weren’t complex enough, we go even further. We make different kinds of bread and cheese with different kinds of flour and milk, different processes, different ages; we make different brands of pickle and butter, and then argue on the Internet about which one is the best. We make sandwiches with egg mayonnaise (boiled eggs… in an emulsion of egg yolks and oil), with roasted or cured meats of different kinds of animals, with hummus (a remarkably complicated ingredient in its own right).

When you make yourself a sandwich, you’re standing upon the shoulders of the hundreds of generations that preceded you, and all of their peers. A collective knowledge passed down over millennia. In reality, nobody milks a cow because they want to make a sandwich: but that separation is only possible because of the enormous infrastructure we’ve built up in order to support the production and distribution of dairy goods.
We are, indeed, a very strange species.
But if you actually do have a go at making a sandwich based on this recipe, let me know how you get on.