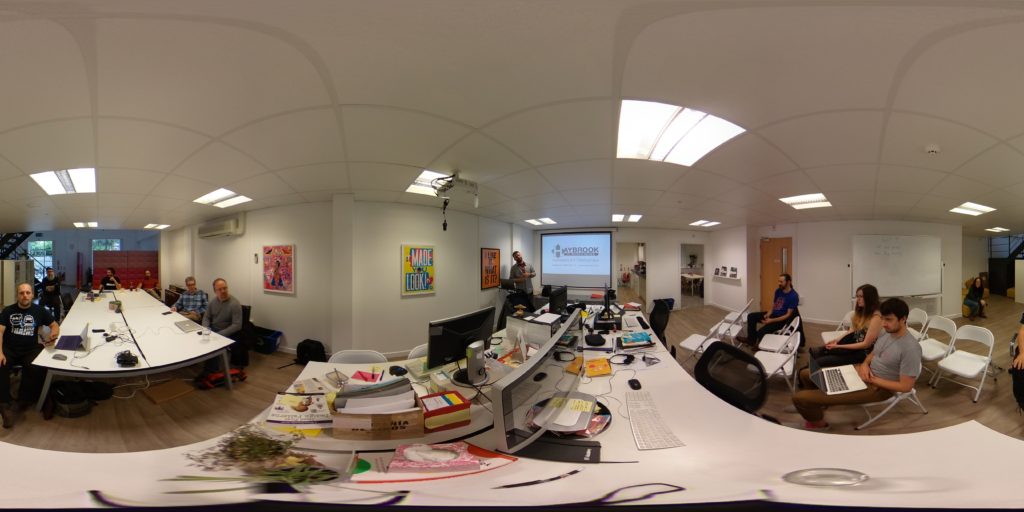
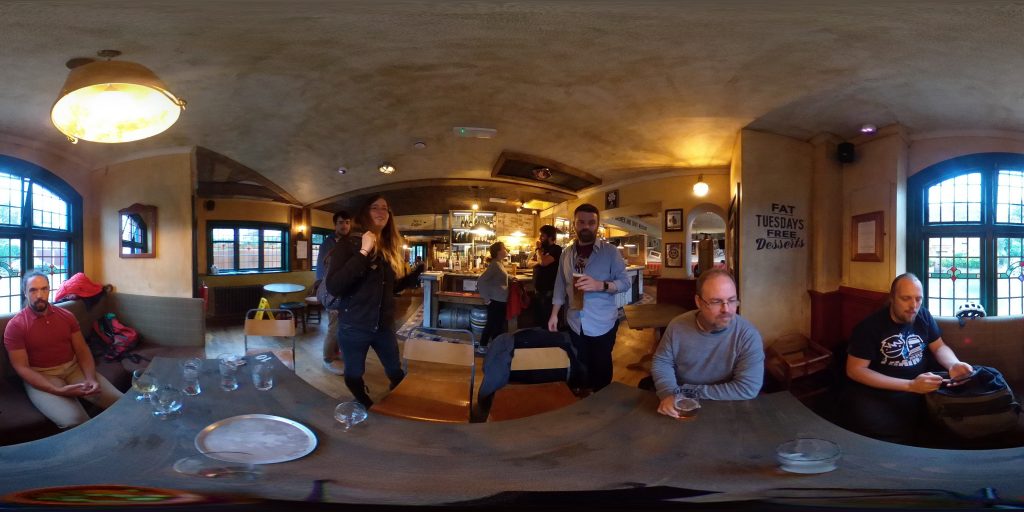
This weekend, I attended part of Oxford’s first ever IndieWebCamp! As a long (long, long) time proponent of IndieWeb philosophy (since long before anybody said “IndieWeb”, at least) I’ve got my personal web presence pretty-well sorted out. Still, I loved the idea of attending and pushing some of my own tools even further: after all, a personal website isn’t “finished” until its owner says it is! One of the things I ended up hacking on was pretty-predictable: enhancements to my recently-open-sourced geocaching PESOS tools… but the other’s worth sharing too, I think.

I’ve recently been playing with WebVR – for my day job at the Bodleian, I swear! – and I was looking for an excuse to try to expand some of what I’d learned into my personal blog, too. Given that I’ve recently acquired a Ricoh Theta V I thought that this’d be the perfect opportunity to add WebVR-powered panoramas to this site. My goals were:
- Entirely self-hosted; no external third-party dependencies
- Must degrade gracefully (i.e. even if you’re using an older browser, don’t have Javascript enabled, etc.) it should at least show the original image
- In plain-old browsers should support mouse (or touch) control to pan the scene
- Where accelerators are available (e.g. mobiles), “magic window” support to allow twist-to-explore
- And where “true” VR hardware (Cardboard, Vive, Rift etc.) with WebVR support is available, allow one-click use of that

Hopefully the images above are working for you and are “interactive”. Try click-and-dragging on them (or tilt your device), try fullscreen mode, and/or try WebVR mode if you’ve got hardware that supports it. The mechanism of operation is slightly hacky but pretty simple: here’s how it works:
- The image is inserted into the page as normal but with an extra CSS class of “vr360” and a data attribute pointing to the full-resolution image, e.g.:
<img class="vr360" src="/uploads/2018/09/R0010005_20180922182210-1024x512.jpg" alt="IndieWebCamp Oxford attendees at the pub" width="640" height="320" data-vr360="/uploads/2018/09/R0010005_20180922182210.jpg" /> - Some Javascript swaps-out images with this class for an iframe of the same size, showing a special page and passing the image filename after the hash, e.g.:
for(vr360 of document.querySelectorAll('.vr360')){


                const width = parseInt(vr360.width);


                const height = parseInt(vr360.height);


                if(width == 0) width = '100%'; // Fallback for where width/height not specified,


                if(height == 0) height = '100%'; // needed because of some quirks with Dan's lazy-loader


                vr360.outerHTML = `<iframe src="/q23-content/themes/q18/vr360/#${vr360.dataset.vr360}" width="${width}" height="${height}" class="aligncenter" class="vr360-frame" style="min-width:
                340px; min-height: 340px;"></iframe>`;


} - The iframe page loads this Javascript file. This loads three.js (to make 3D things easy) and WebVR-polyfill (to fix browser quirks). Finally (scroll to the bottom of the code), it creates a camera in the centre of a sphere, loads the image specified in the hash, flips it, and paints it onto the inside surface of the sphere, sets up controls, and turns the user loose on it. That’s all there is to it!
You’re welcome to any of my code if you’d like a drop-in approach to hosting panoramic photographs on your own personal site. My solution’s pretty extensible if you want e.g. interactive hotspots or contextual overlays – in fact, that – plus an easy route to editing the content for less-technical users – is pretty-much exactly what I’m working on for my day job at the moment.