Now that Google Play Music has been replaced by YouTube Music, and inspired by the lampshading the RIAA did recently with youtube-dl, a friend asked me: “So does this mean I could download music from my Google Play Music/YouTube Music playlists?”
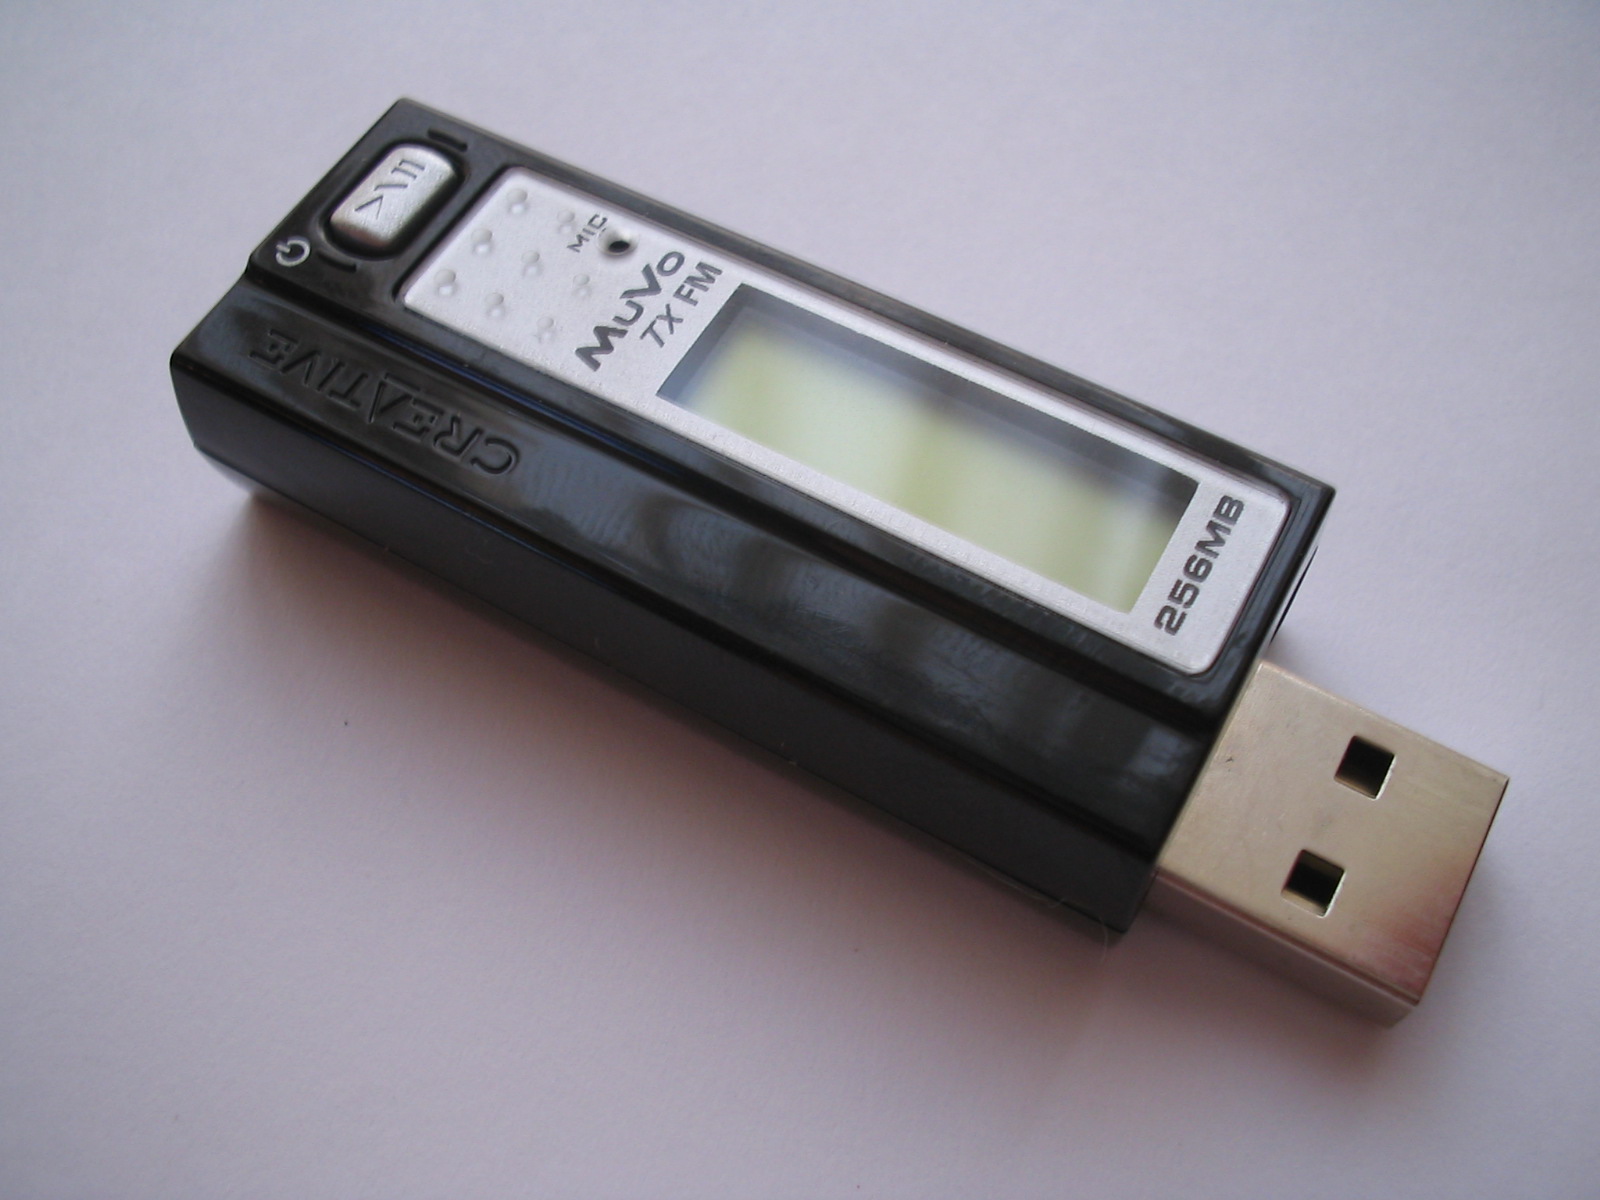
My friend still uses a seriously retro digital music player, rather than his phone, to listen to music. It’s not a Walkman or a Minidisc player, I suppose, but it’s still pretty elderly. But it’s not one of these.I’m not here to speak about the legality of retaining offline copies of music from streaming services. YouTube Music seems to permit you to do this using their app, but I’ll bet there’s something in their terms and conditions that specifically prohibits doing so any other way. Not least because Google’s arrangement with rights holders probably stipulates that they track how many times tracks are played, and using a different player (like my friend’s portable device) would throw that off.
But what I’m interested in is the feasibility. And in answering that question, in explaining how to work out that it’s feasible.
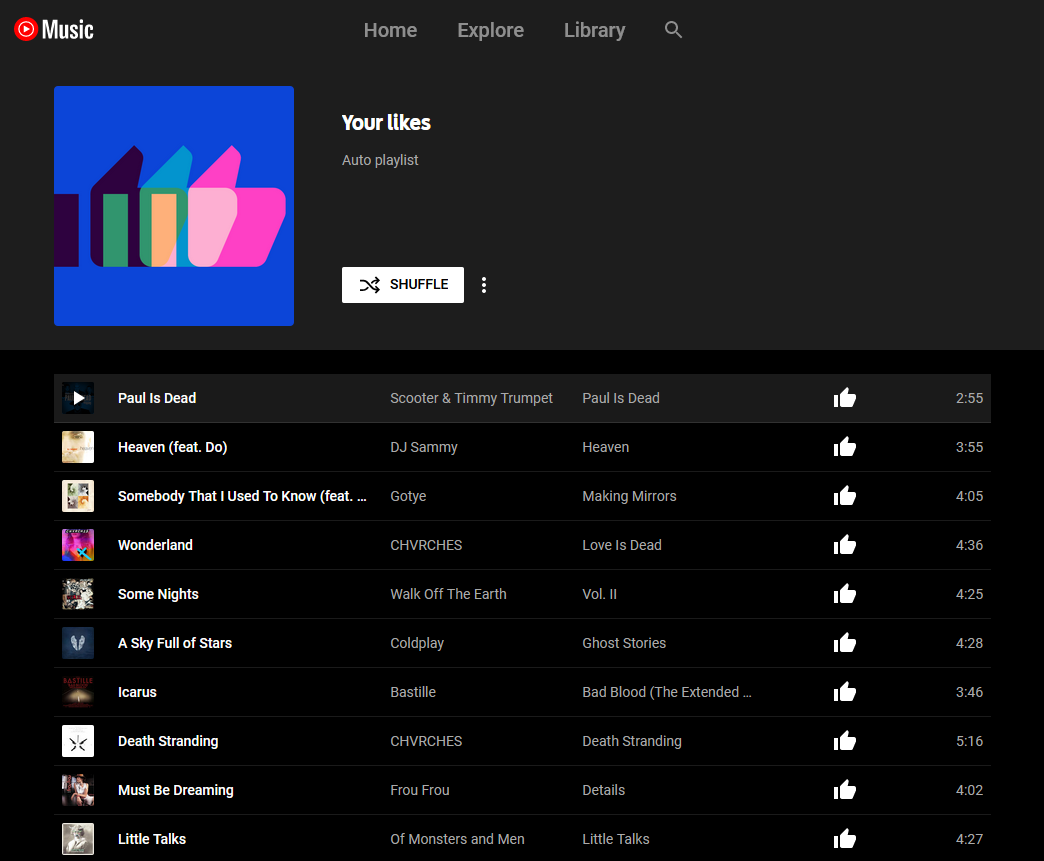
The web interface to YouTube Music shows playlists of songs and streaming is just a click away.Spoiler: I came up with an approach, and it looks like it works. My friend can fill up their Zune or whatever the hell it is with their tunes and bop away. But what I wanted to share with you was the underlying technique I used to develop this approach, because it involves skills that as a web developer I use most weeks. Hold on tight, you might learn something!
youtube-dl can download “playlists” already, but to download a personal playlist requires that you faff about with authentication and it’s a bit of a drag. Just extracting the relevant metadata from the page is probably faster, I figured: plus, it’s a valuable lesson in extracting data from web pages in general.
Here’s what I did:
Step 1. Load all the data
I noticed that YouTube Music playlists “lazy load”, and you have to scroll down to see everything. So I scrolled to the bottom of the page until I reached the end of the playlist: now everything was in the DOM, I could investigate it with my inspector.
Step 2. Find each track’s “row”
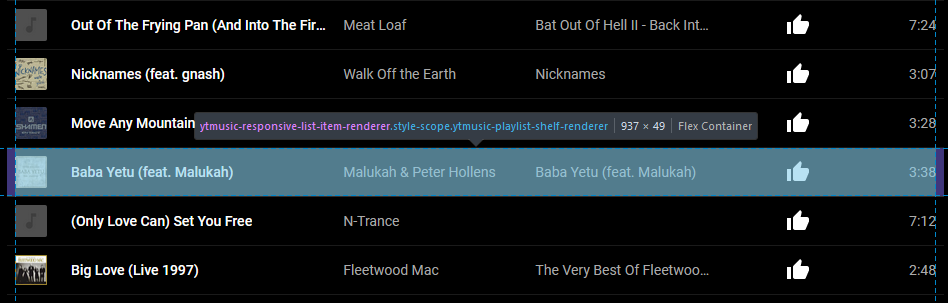
Using my browser’s debugger “inspect” tool, I found the highest unique-sounding element that seemed to represent each “row”/track. After a little investigation, it looked like a playlist always consists of a series of <ytmusic-responsive-list-item-renderer> elements wrapped in a <ytmusic-playlist-shelf-renderer>. I tested this by running document.querySelectorAll('ytmusic-playlist-shelf-renderer ytmusic-responsive-list-item-renderer') in my debug console and sure enough, it returned a number of elements equal to the length of the playlist, and hovering over each one in the debugger highlighted a different track in the list.
The web application captured right-clicks, preventing the common right-click-then-inspect-element approach… so I just clicked the “pick an element” button in the debugger.Step 3. Find the data for each track
I didn’t want to spend much time on this, so I looked for a quick and dirty solution: and there was one right in front of me. Looking at each track, I saw that it contained several <yt-formatted-string> elements (at different depths). The first corresponded to the title, the second to the artist, the third to the album title, and the fourth to the duration.
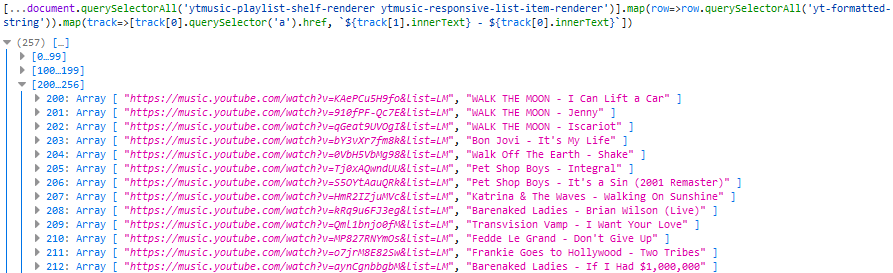
Better yet, the first contained an <a> element whose href was the URL of the piece of music. Extracting the URL and the text was as simple as a .querySelector('a').href on the first <yt-formatted-string> and a .innerText on the others, respectively, so I ran [...document.querySelectorAll('ytmusic-playlist-shelf-renderer ytmusic-responsive-list-item-renderer')].map(row=>row.querySelectorAll('yt-formatted-string')).map(track=>[track[0].querySelector('a').href, `${track[1].innerText} - ${track[0].innerText}`]) (note the use of [...*] to get an array) to check that I was able to get all the data I needed:
Lots of URLs and the corresponding track names in my friend’s preferred format (me, I like to separate my music into folders by album, but I suppose I’ve got a music player with more than a floppy disk’s worth of space on it).Step 4. Sanitise the data
We’re not quite good-to-go, because there’s some noise in the data. Sometimes the application’s renderer injects line feeds into the innerText (e.g. when escaping an ampersand). And of course some of these song titles aren’t suitable for use as filenames, if they’ve got e.g. question marks in them. Finally, where there are multiple spaces in a row it’d be good to coalesce them into one. I do some experiments and decide that .replace(/[rn]/g, '').replace(/[/:><*?]/g, '-').replace(/s{2,}/g, ' ') does a good job of cleaning up the song titles so they’re suitable for use as filenames.
I probably should have it fix quotes too, but I’ll leave that as an exercise for the reader.
Step 5. Produce youtube-dl commands
Okay: now we’re ready to combine all of that output into commands suitable for running at a terminal. After a quick dig through the documentation, I decide that we needed the following switches:
-x to download/extract audio only: it defaults to the highest quality format available, which seems reasomable
-o "the filename.%(ext)s" to specify the output filename but accept the format provided by the quality requirement (transcoding to your preferred format is a separate job not described here)
--no-playlist to ensure that youtube-dl doesn’t see that we’re coming from a playlist and try to download it all (we have our own requirements of each song’s filename)
--download-archive downloaded.txt to log what’s been downloaded already so successive runs don’t re-download and the script is “resumable”
The final resulting code, then, looks like this:
console.log([...document.querySelectorAll('ytmusic-playlist-shelf-renderer ytmusic-responsive-list-item-renderer')].map(row=>row.querySelectorAll('yt-formatted-string')).map(track=>[track[0].querySelector('a').href, `${track[1].innerText} - ${track[0].innerText}`.replace(/[rn]/g, '').replace(/[/:><*?]/g, '-').replace(/s{2,}/g, ' ')]).map(trackdata=>`youtube-dl -x "${trackdata[0]}" -o "${trackdata[1]}.%(ext)s" --no-playlist --download-archive downloaded.txt`).join("n"));
The output isn’t pretty, but it’s suitable for copy-pasting into a terminal or command prompt where it ought to download a whole lot of music for offline play.This isn’t an approach that most people will ever need: part of the value of services like YouTube Music, Spotify and the like is that you pay a fixed fee to stream whatever you like, wherever you like, obviating the need for a large offline music collection. And people who want to maintain a traditional music collection offline are most-likely to want to do so while supporting the bands they care about, especially as (with DRM-free digital downloads commonplace) it’s never been easier to do so.
But for those minority of people who need to play music from their streaming services offline but don’t have or can’t use a device suitable for doing so on-the-go, this kind of approach works. (Although again: it’s probably not permitted, so be sure to read the rules before you use it in such a way!)
Step 6. Learn something
But more-importantly, the techniques of exploring and writing console Javascript demonstrated are really useful for extracting all kinds of data from web pages (data scraping), writing your own userscripts, and much more. If there’s one lesson to take from this blog post it’s not that you can steal music on the Internet (I’m pretty sure everybody who’s lived on this side of 1999 knows that by now), but that you can manipulate the web pages you see. Once you’re viewing it on your computer, a web page works for you: you don’t have to consume a page in the way that the author expected, and knowing how to extract the underlying information empowers you to choose for yourself a more-streamlined, more-personalised, more-powerful web.